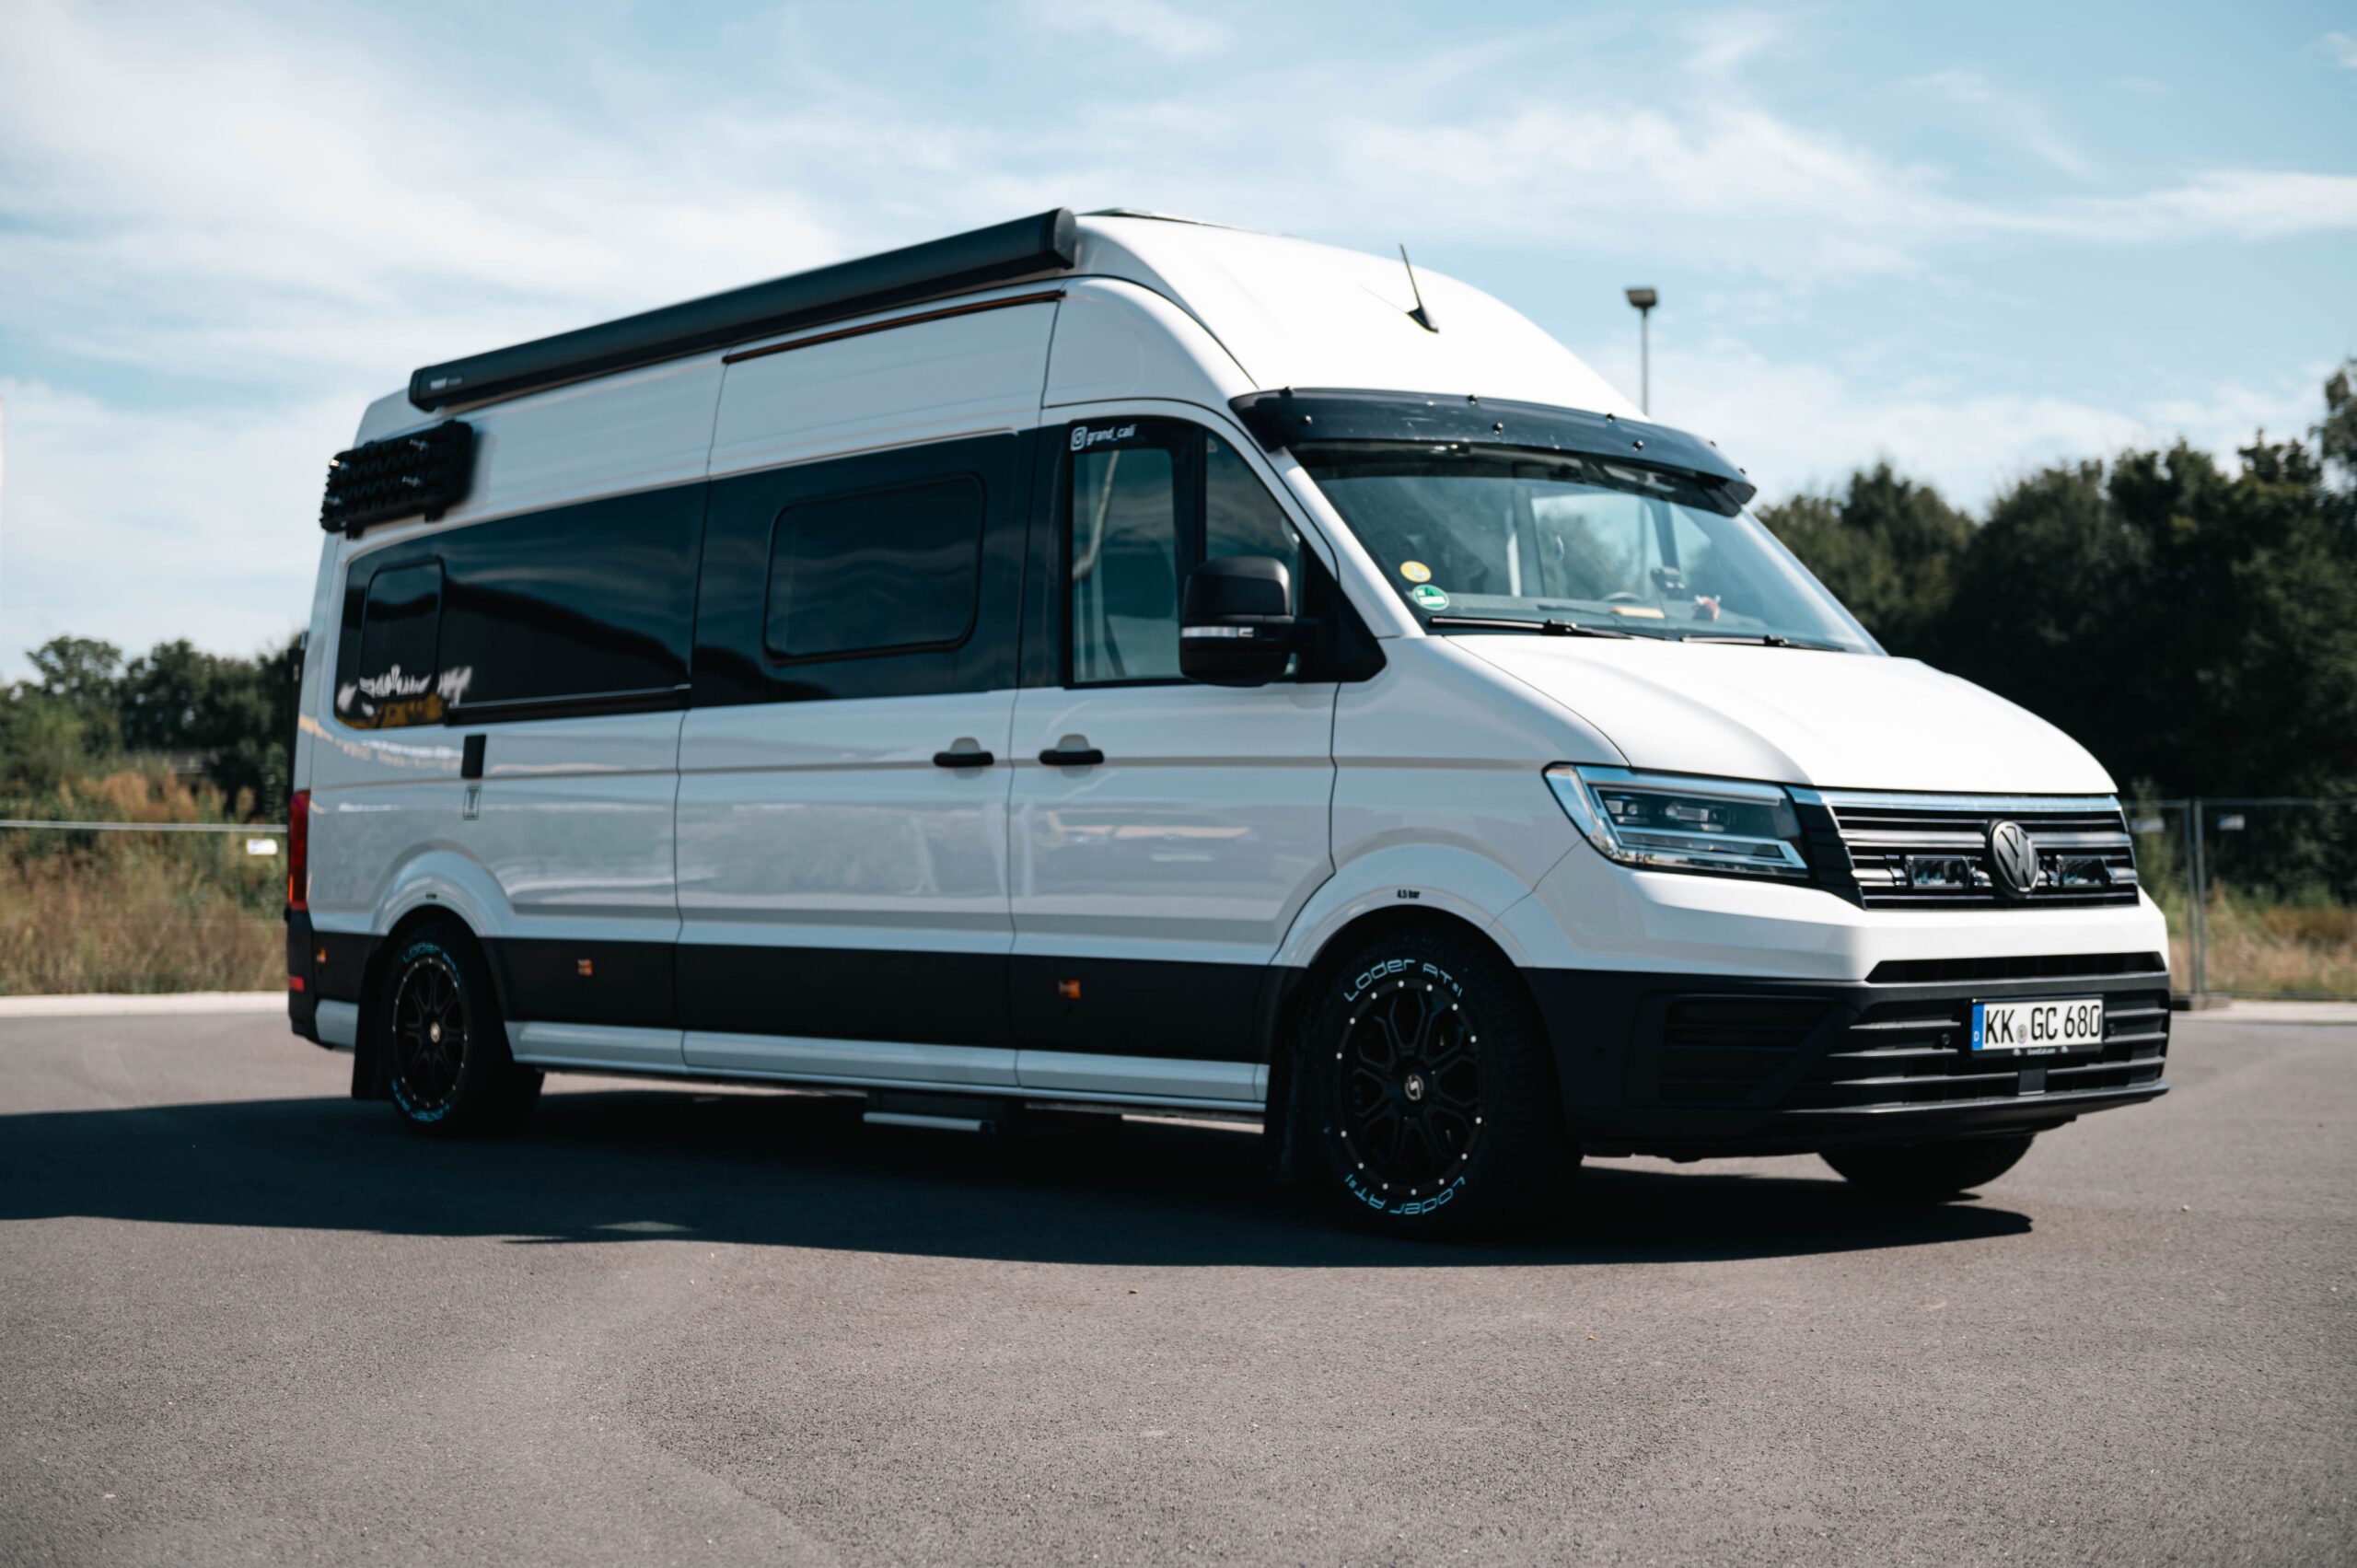
Again and again you read in various forums that Calicamper have problems with the step. This could probably be avoided in 90 percent of cases if cleaning were performed regularly. Every drive through rain or over a gravel road, for example, ensures that the step gets dirty from the inside. It doesn’t sound like a problem at first, but it can become one very quickly. Namely, whenever dirt, usually in the form of small stones, gets into the guide rails of the step. The result is then mostly that the step either no longer goes in or no longer goes out, because the built-in motor stops working as soon as too much resistance prevails.
In the end there is frustration and the blame is sought at VW
Often this may be true, but Volkswagen has not covered itself with glory as far as the Grand California is concerned. When it comes to the step, however, it is a mixture of a lack of instructions for cleaning and precisely a lack of cleaning by the user. This applies not only to the Grand California, but to all motorhomes that have an electric Thule step. At the same time, it is not really difficult or particularly time-consuming to thoroughly clean the step every now and then and thus have peace of mind. Neither with our first California, nor with the second, did we ever have problems with the step, because from the beginning we made sure to keep the step clean, or rather to clean it regularly. How the whole thing works, you can watch our video, in detail, if you want 😛
Bitte akzeptiere die YouTube-Cookies, um dieses Video abzuspielen.
Indem Du hier zustimmst, greifst Du auf Inhalte von YouTube zu, einem Dienst, der von einem externen Drittanbieter bereitgestellt wird und nicht von GrandCali.com!
YouTube Datenschutz Richtlinien
Wenn Du diesen Hinweis akzeptieren, wird Deine Auswahl gespeichert und die Seite aktualisiert.
Enjoy the Video
But we don’t want to fob you off with the video, here’s a step by step guide
You will need the following tools for cleaning:
- 20 Torx
- Slotted screwdriver
- Deactivate automatic function of the step in the cockpit or via the CamperUnit.

- Removal of the rubber plugs on the right and left, which hold the trim of the step.

- Loosen the Torx screws on the right and left.


- Remove the step fairing, the fairing is only clicked after removing the screws and can be easily pulled off to the front, without force.


- In the next step, the bracket of the actual step must be loosened, for this purpose the four Torx screws are loosened. The holding frame can then be pulled forward.


- In the sixth step, the step is separated from the motor. On the bottom of the step there are two bars secured with cotter pins. The cotter pins must be pulled off on the respective side, this should work without tools, then the guide rails can be pushed to the side and the step removed.


- Pull the step forward out of the frame.

- Now you can clean the step and pull the lower casing out of the housing towards the front and clean it as well.

The assembly is done in reverse order, the complete action should be done in 20 minutes. If you do this cleaning regularly, then you will have peace and no more trouble with the stage. If something is unclear, please watch the video, there we have described all steps in detail.
Have fun and success, if you have any questions or problems with it, feel free to write something in the comments.


6 comments
Could you please provide an English version of the video
Hey, I’ll autogenerate captions 🙂
Cheers
How does it work.
How to use it
where can it be used
I don’t get the point of your question.
We managed to break plastic cover which is on the right side of the step, do you know where to get this by any chance?
Take a look at the Thule dealer map:
https://support.thule.com/s/article/Where-is-my-nearest-Thule-dealer-en-us?language=en_GB