After a few weeks of radio silence, we’re getting back to you after our vacation with some really lousy news. Unfortunately, more negative than nice things happened to our Grand California on our trip. The vehicle has clearly revealed its limitations and even more its weak points.
Water in the A column
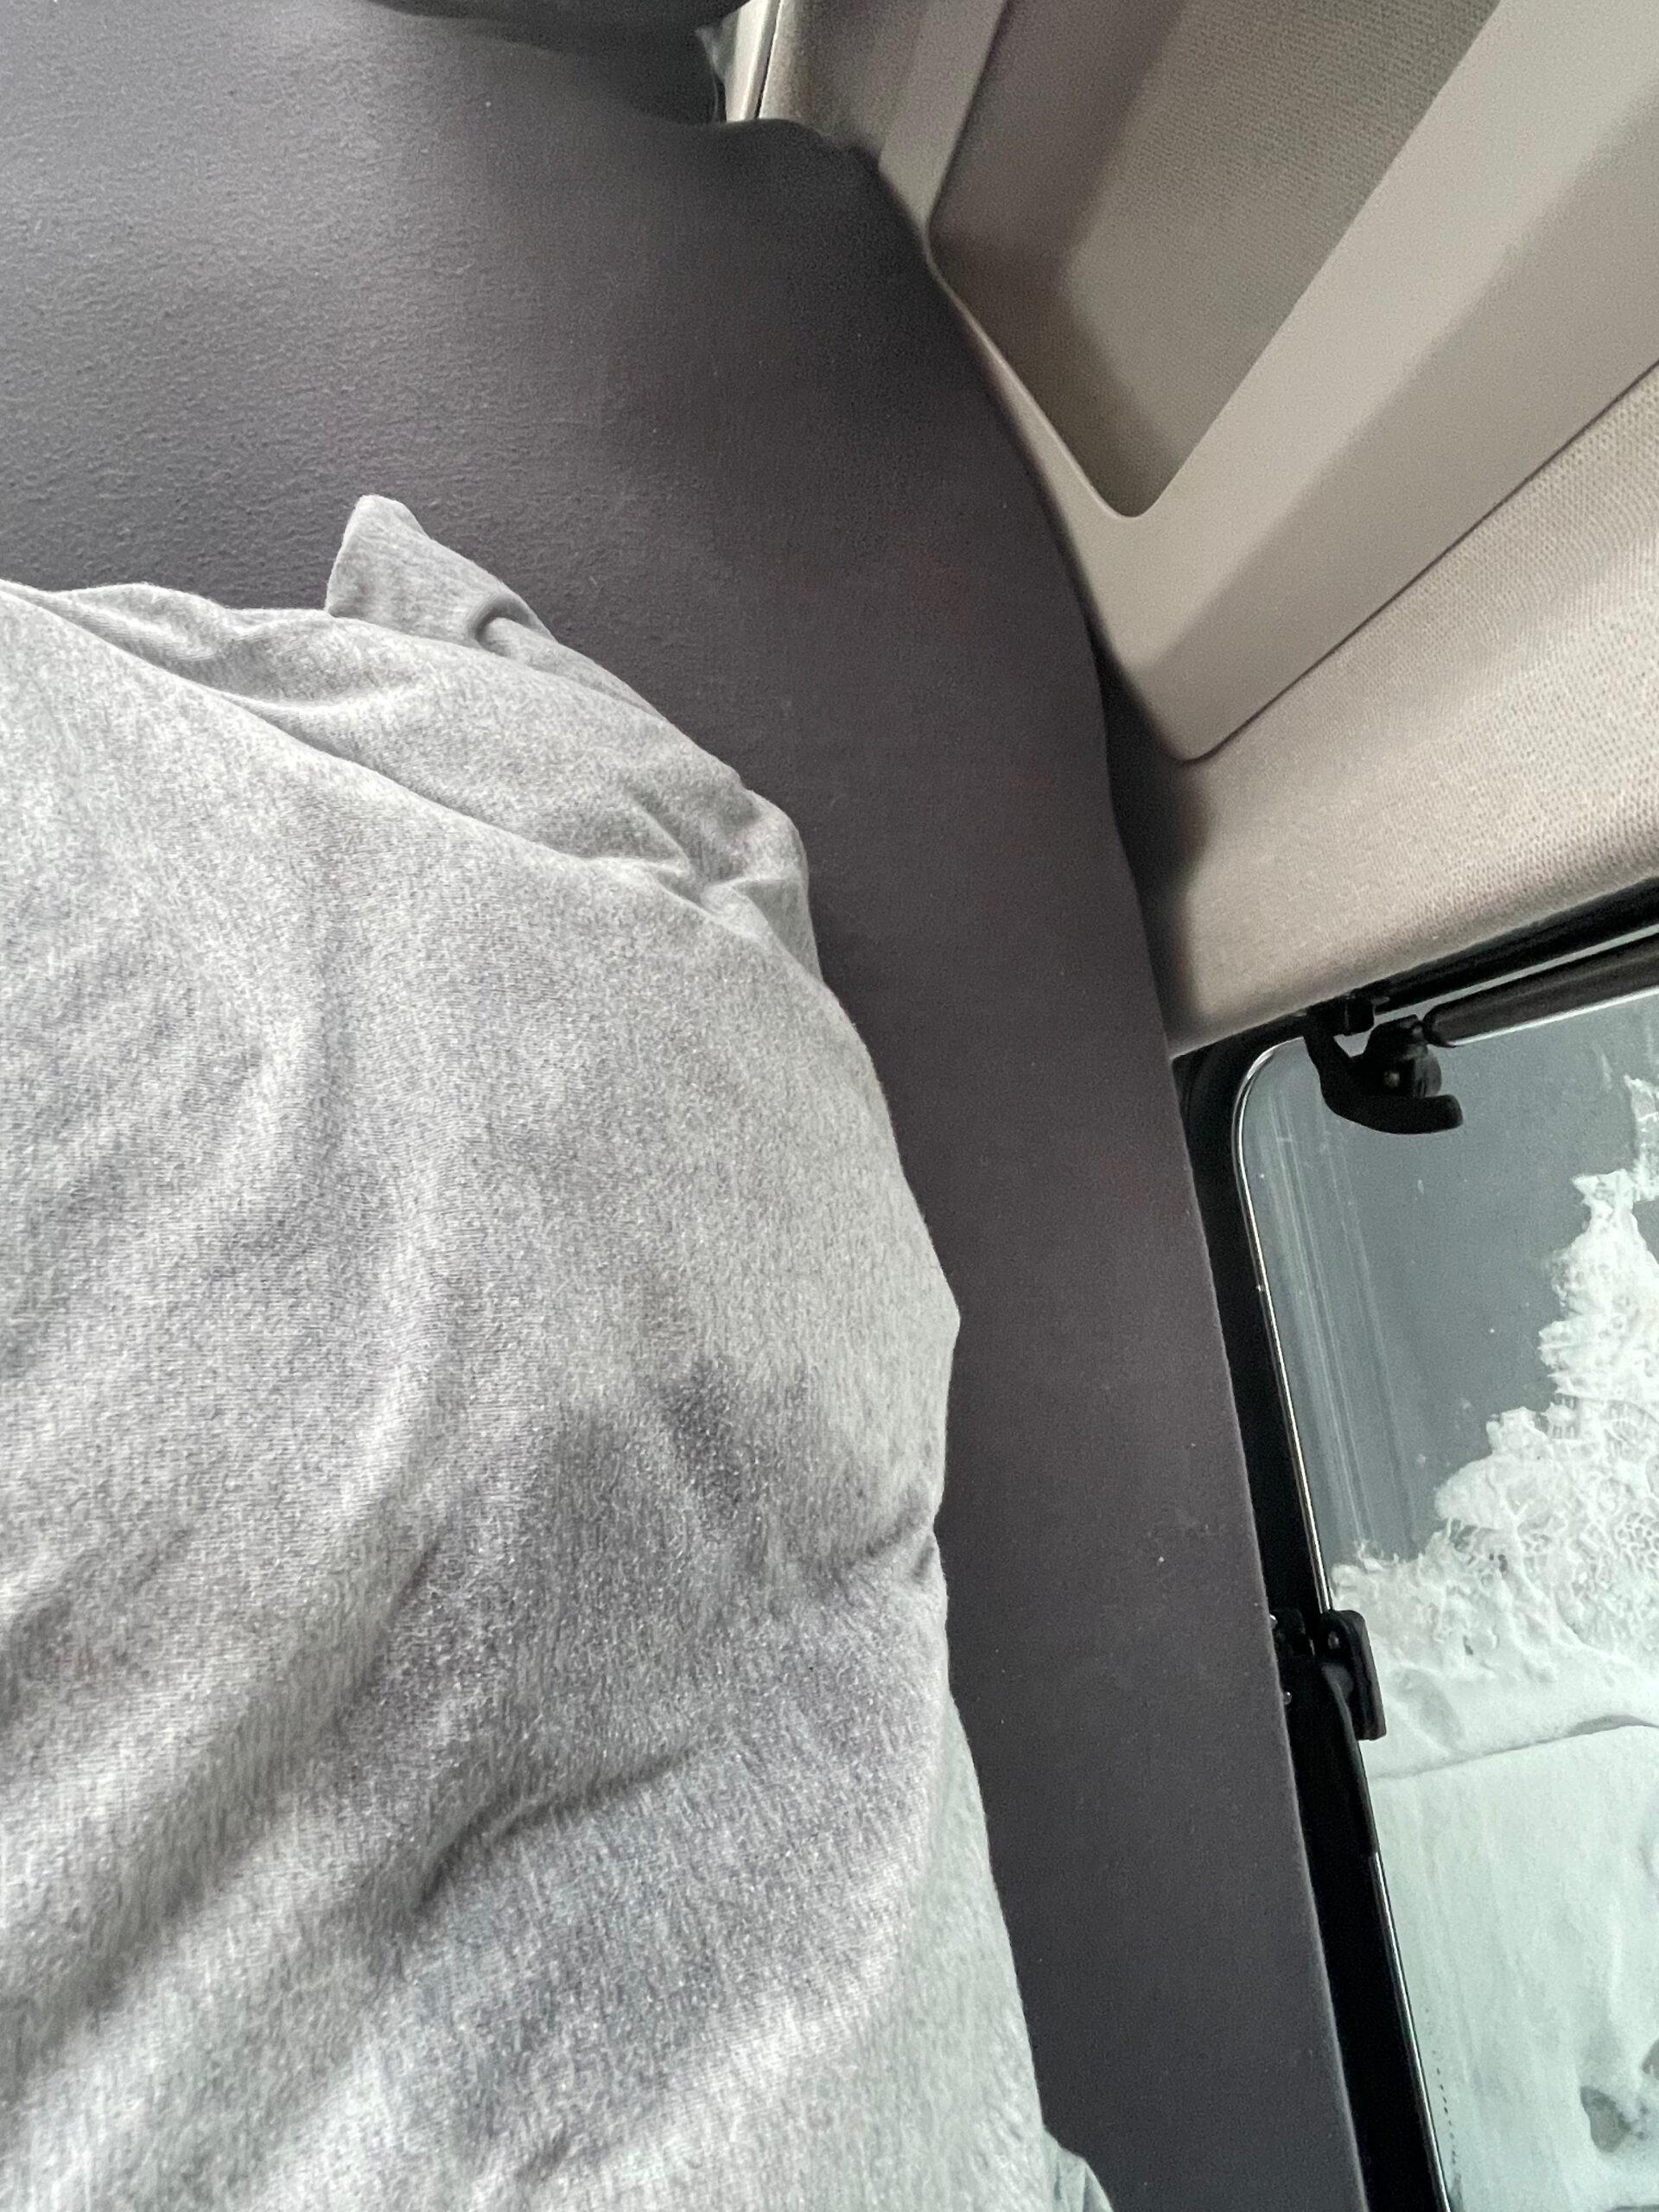
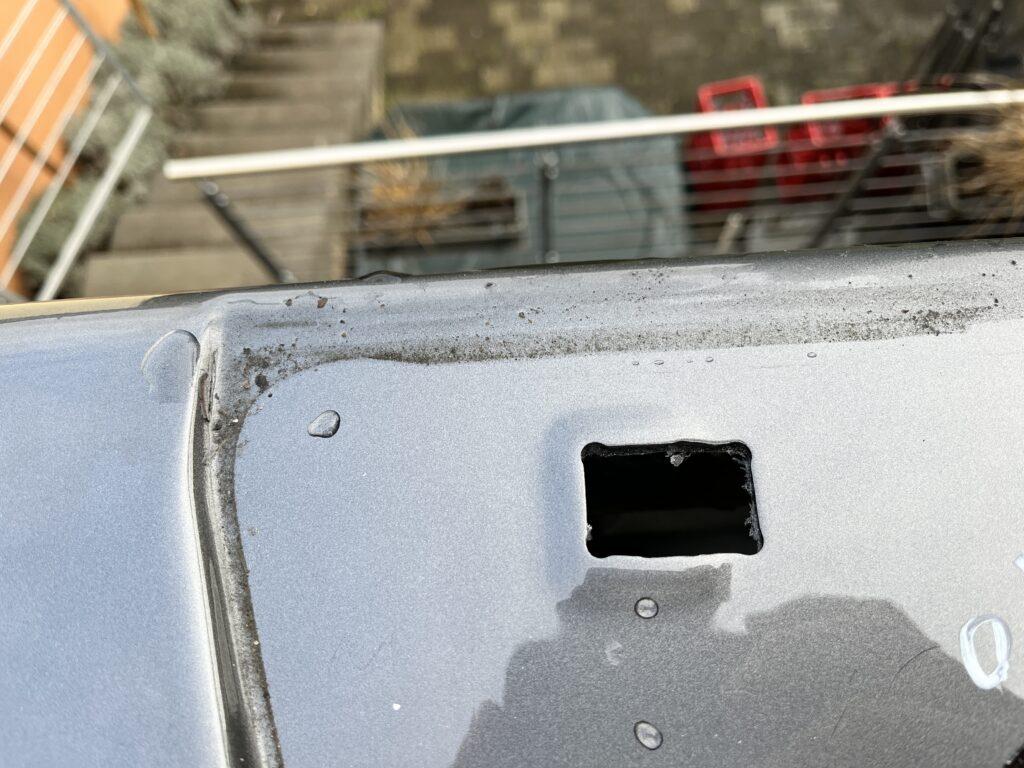
So it came as it had to come, while driving suddenly water ran out of the A column.

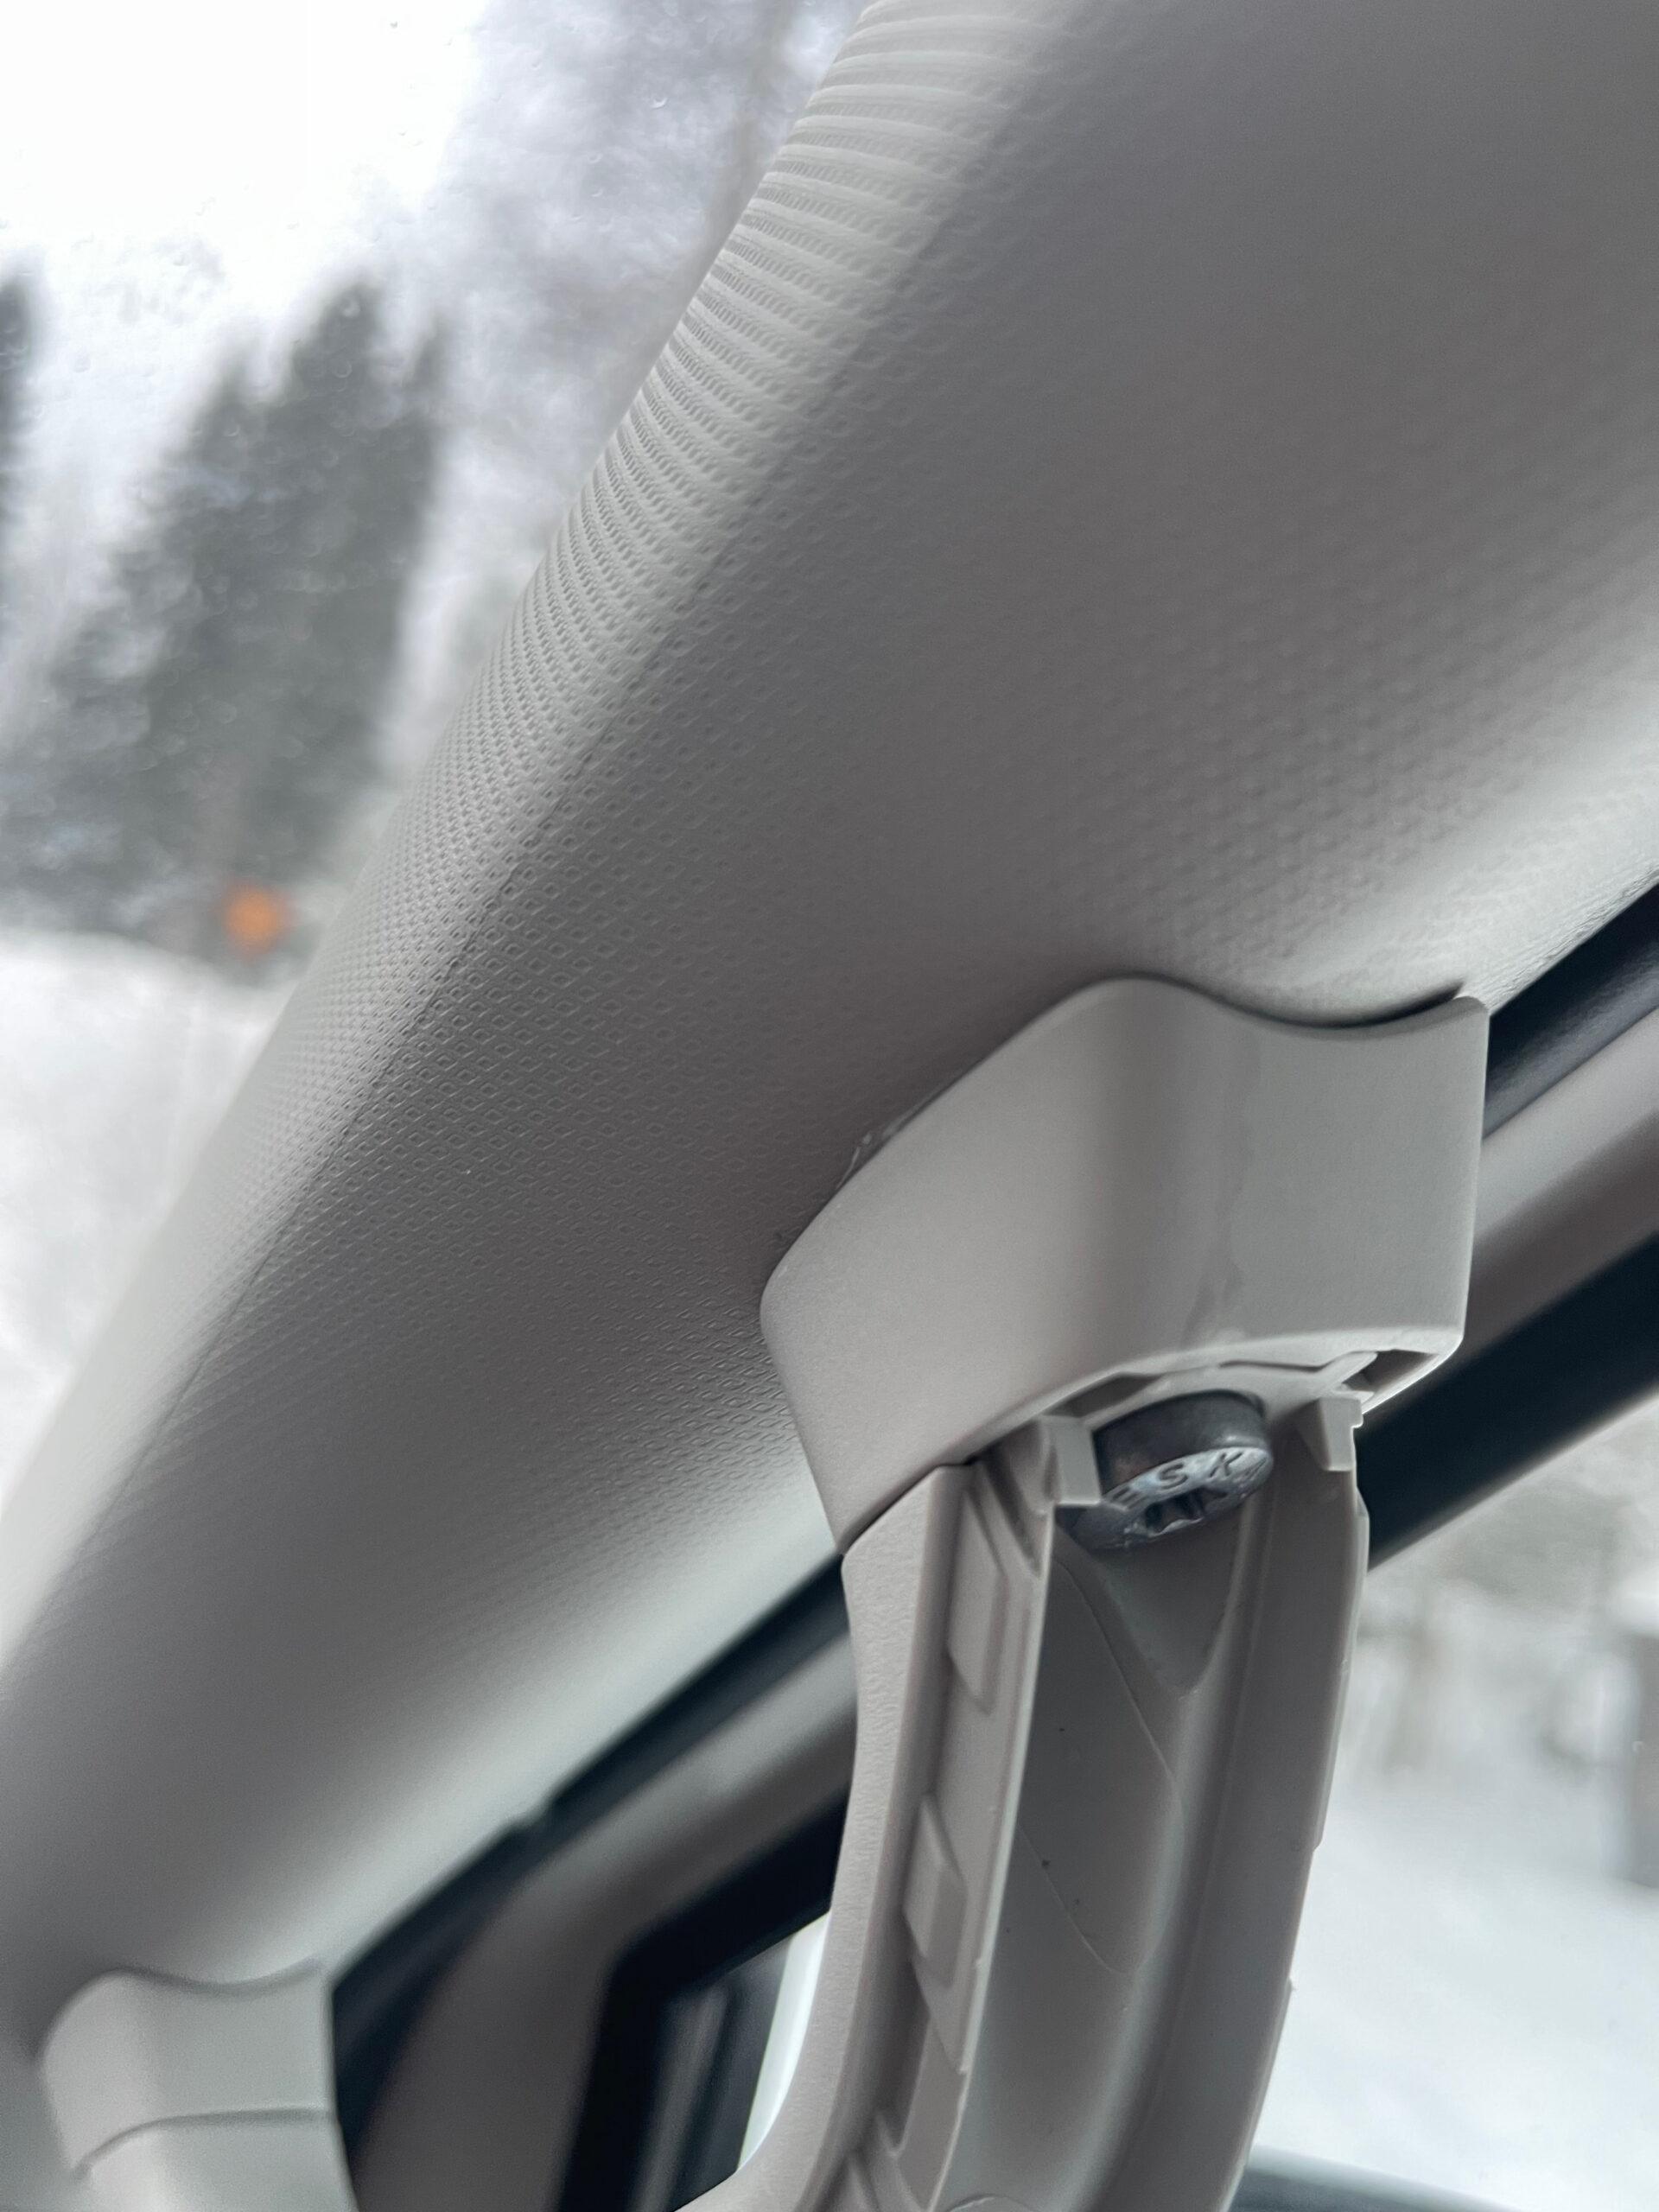
The shock was unbelievable and we just thought, this can’t be true now. Of course we are aware of this defect, it can be anything from a leaking windshield, a defective roof seal, the awning to the 3rd brake light. At this point, we had been on the road for just one week and, of course, we didn’t want to cut our vacation short. Thus, we went on a search and dismantled the A-pillar cladding and the grab handle, respectively, to take a look behind the cladding, hoping to find the source of the water and to prevent further water damage.
We had spent the night at the Arctic Circle in Finland. It was appropriately shady with -15 degrees and of course we had a bunch of condensation on the windshield. And here, unfortunately, it now came to the misjudgement.
Behind the fairing, we could clearly see water on the windshield, blamed a “cold bridge” for the water, and fretted about the Grand California’s poor cab insulation. So we dried the spots with a rag and continued the journey.
More water?!
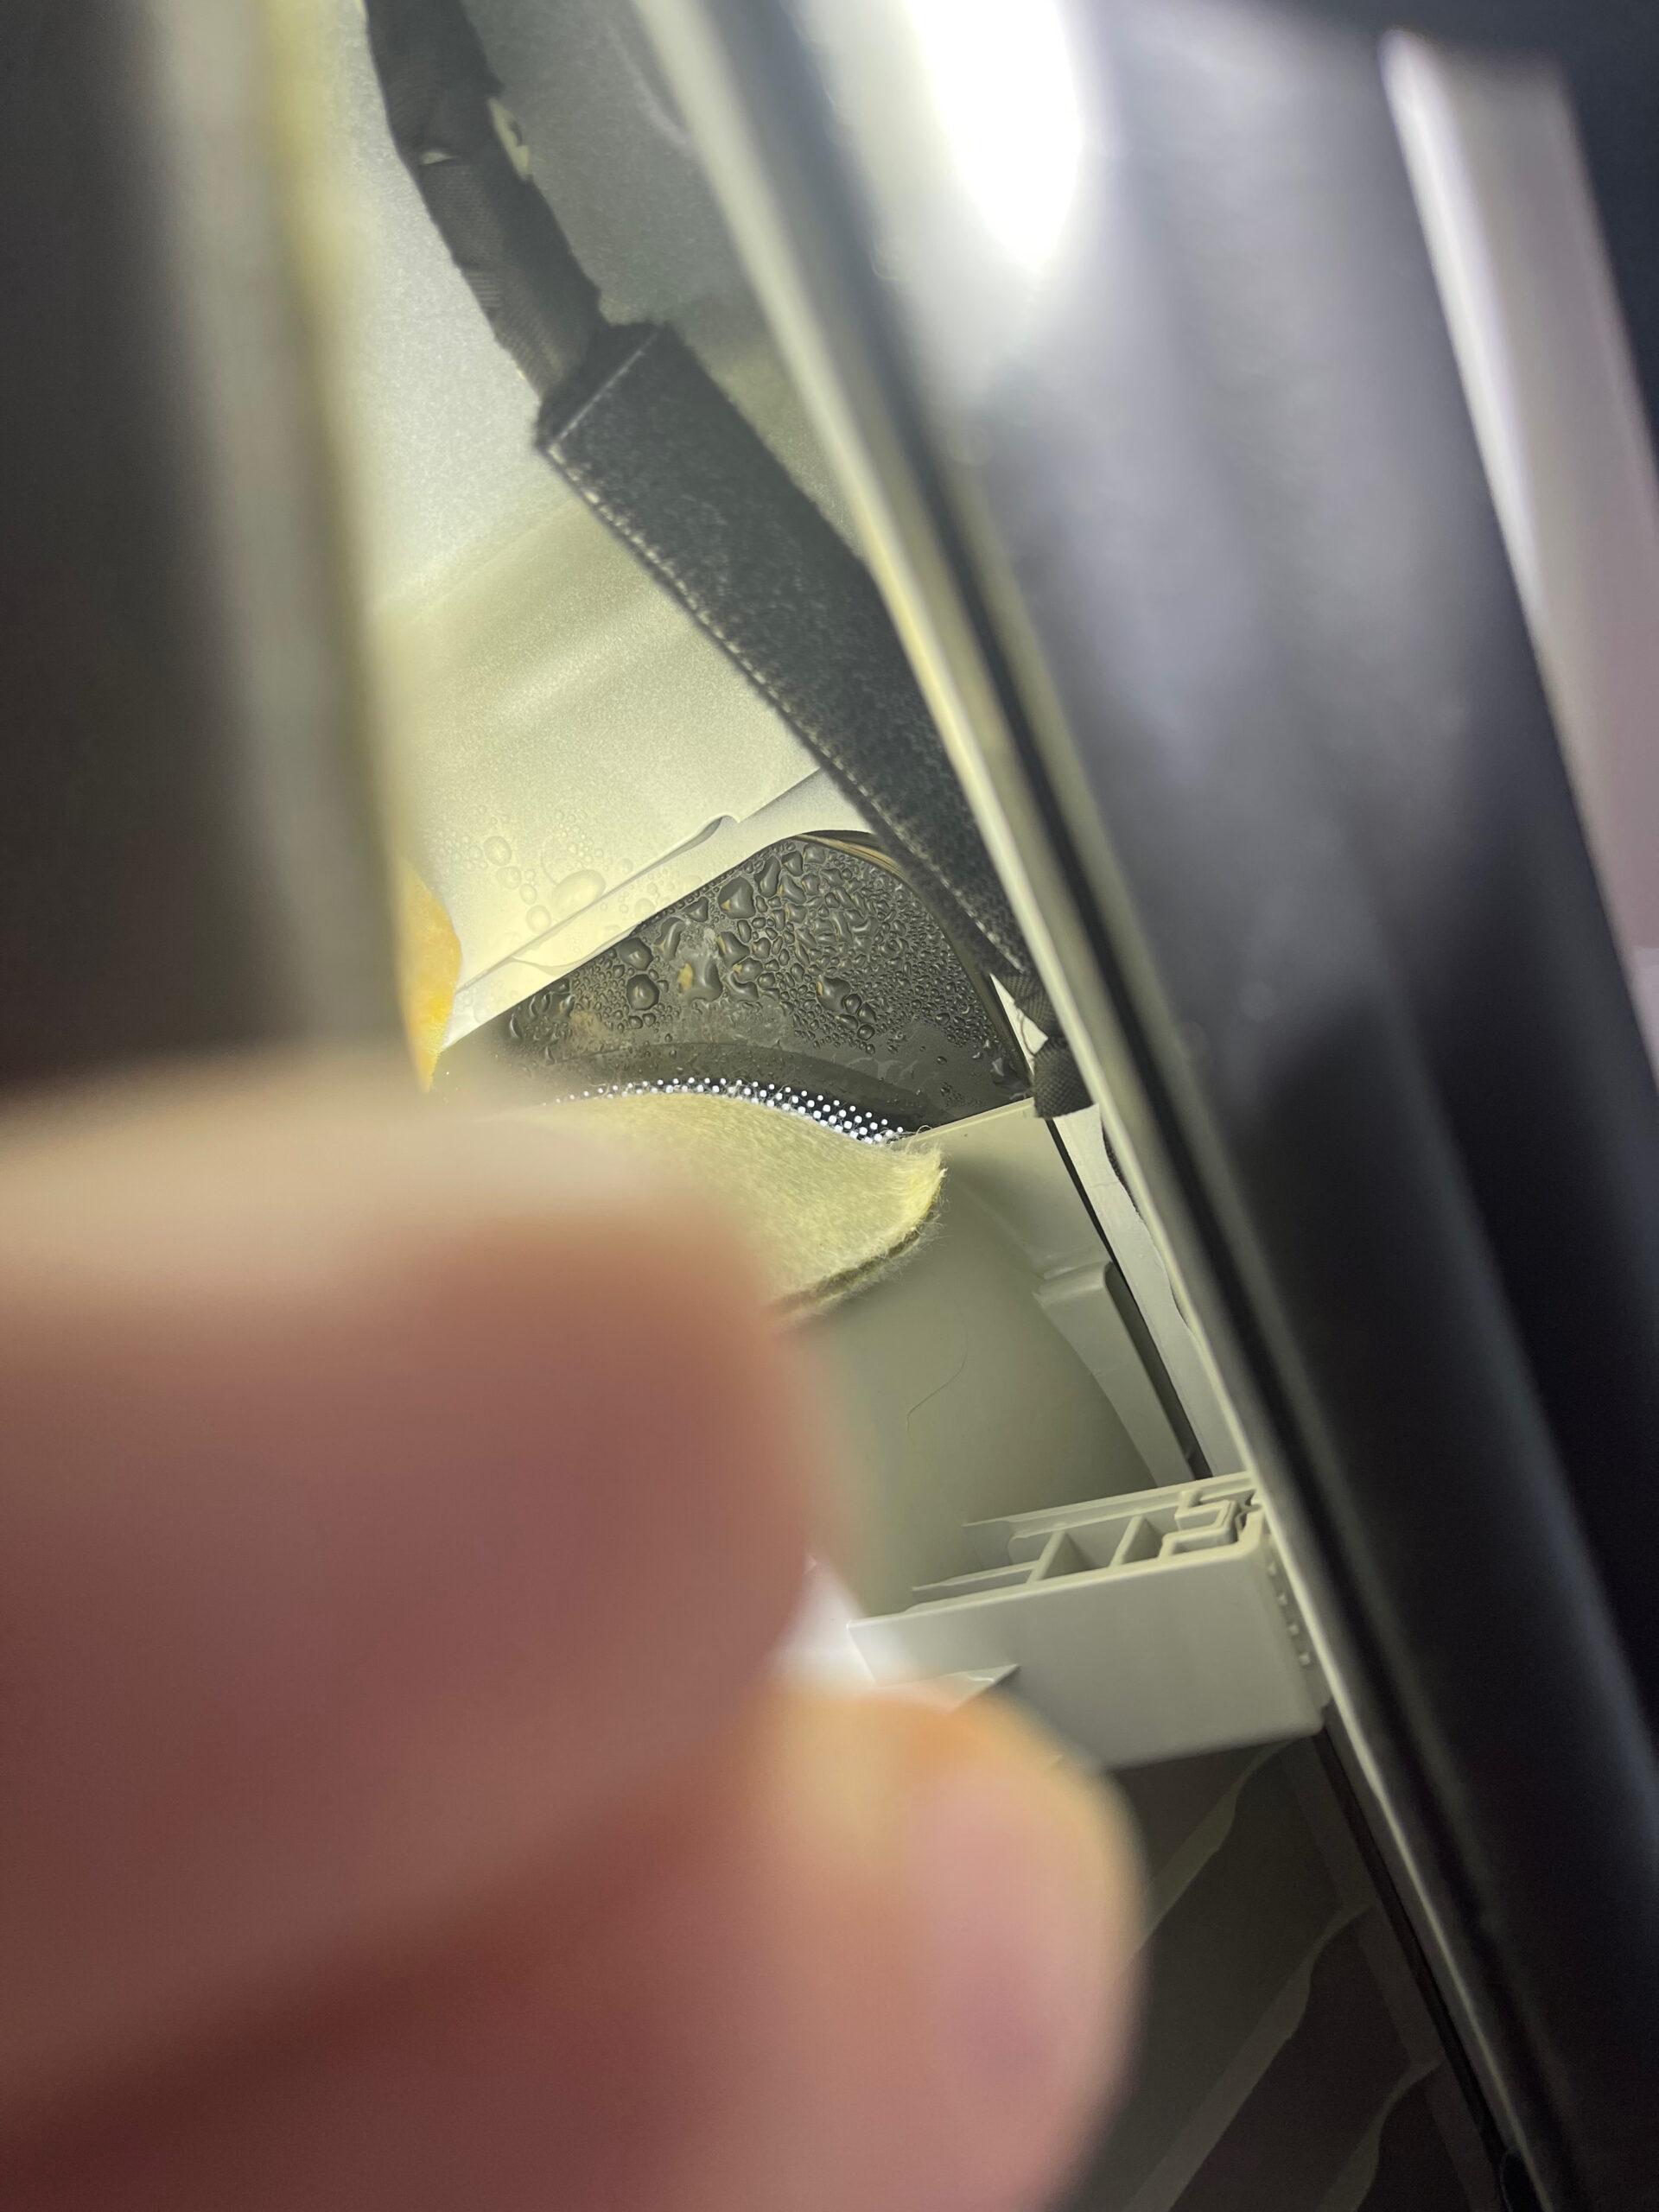
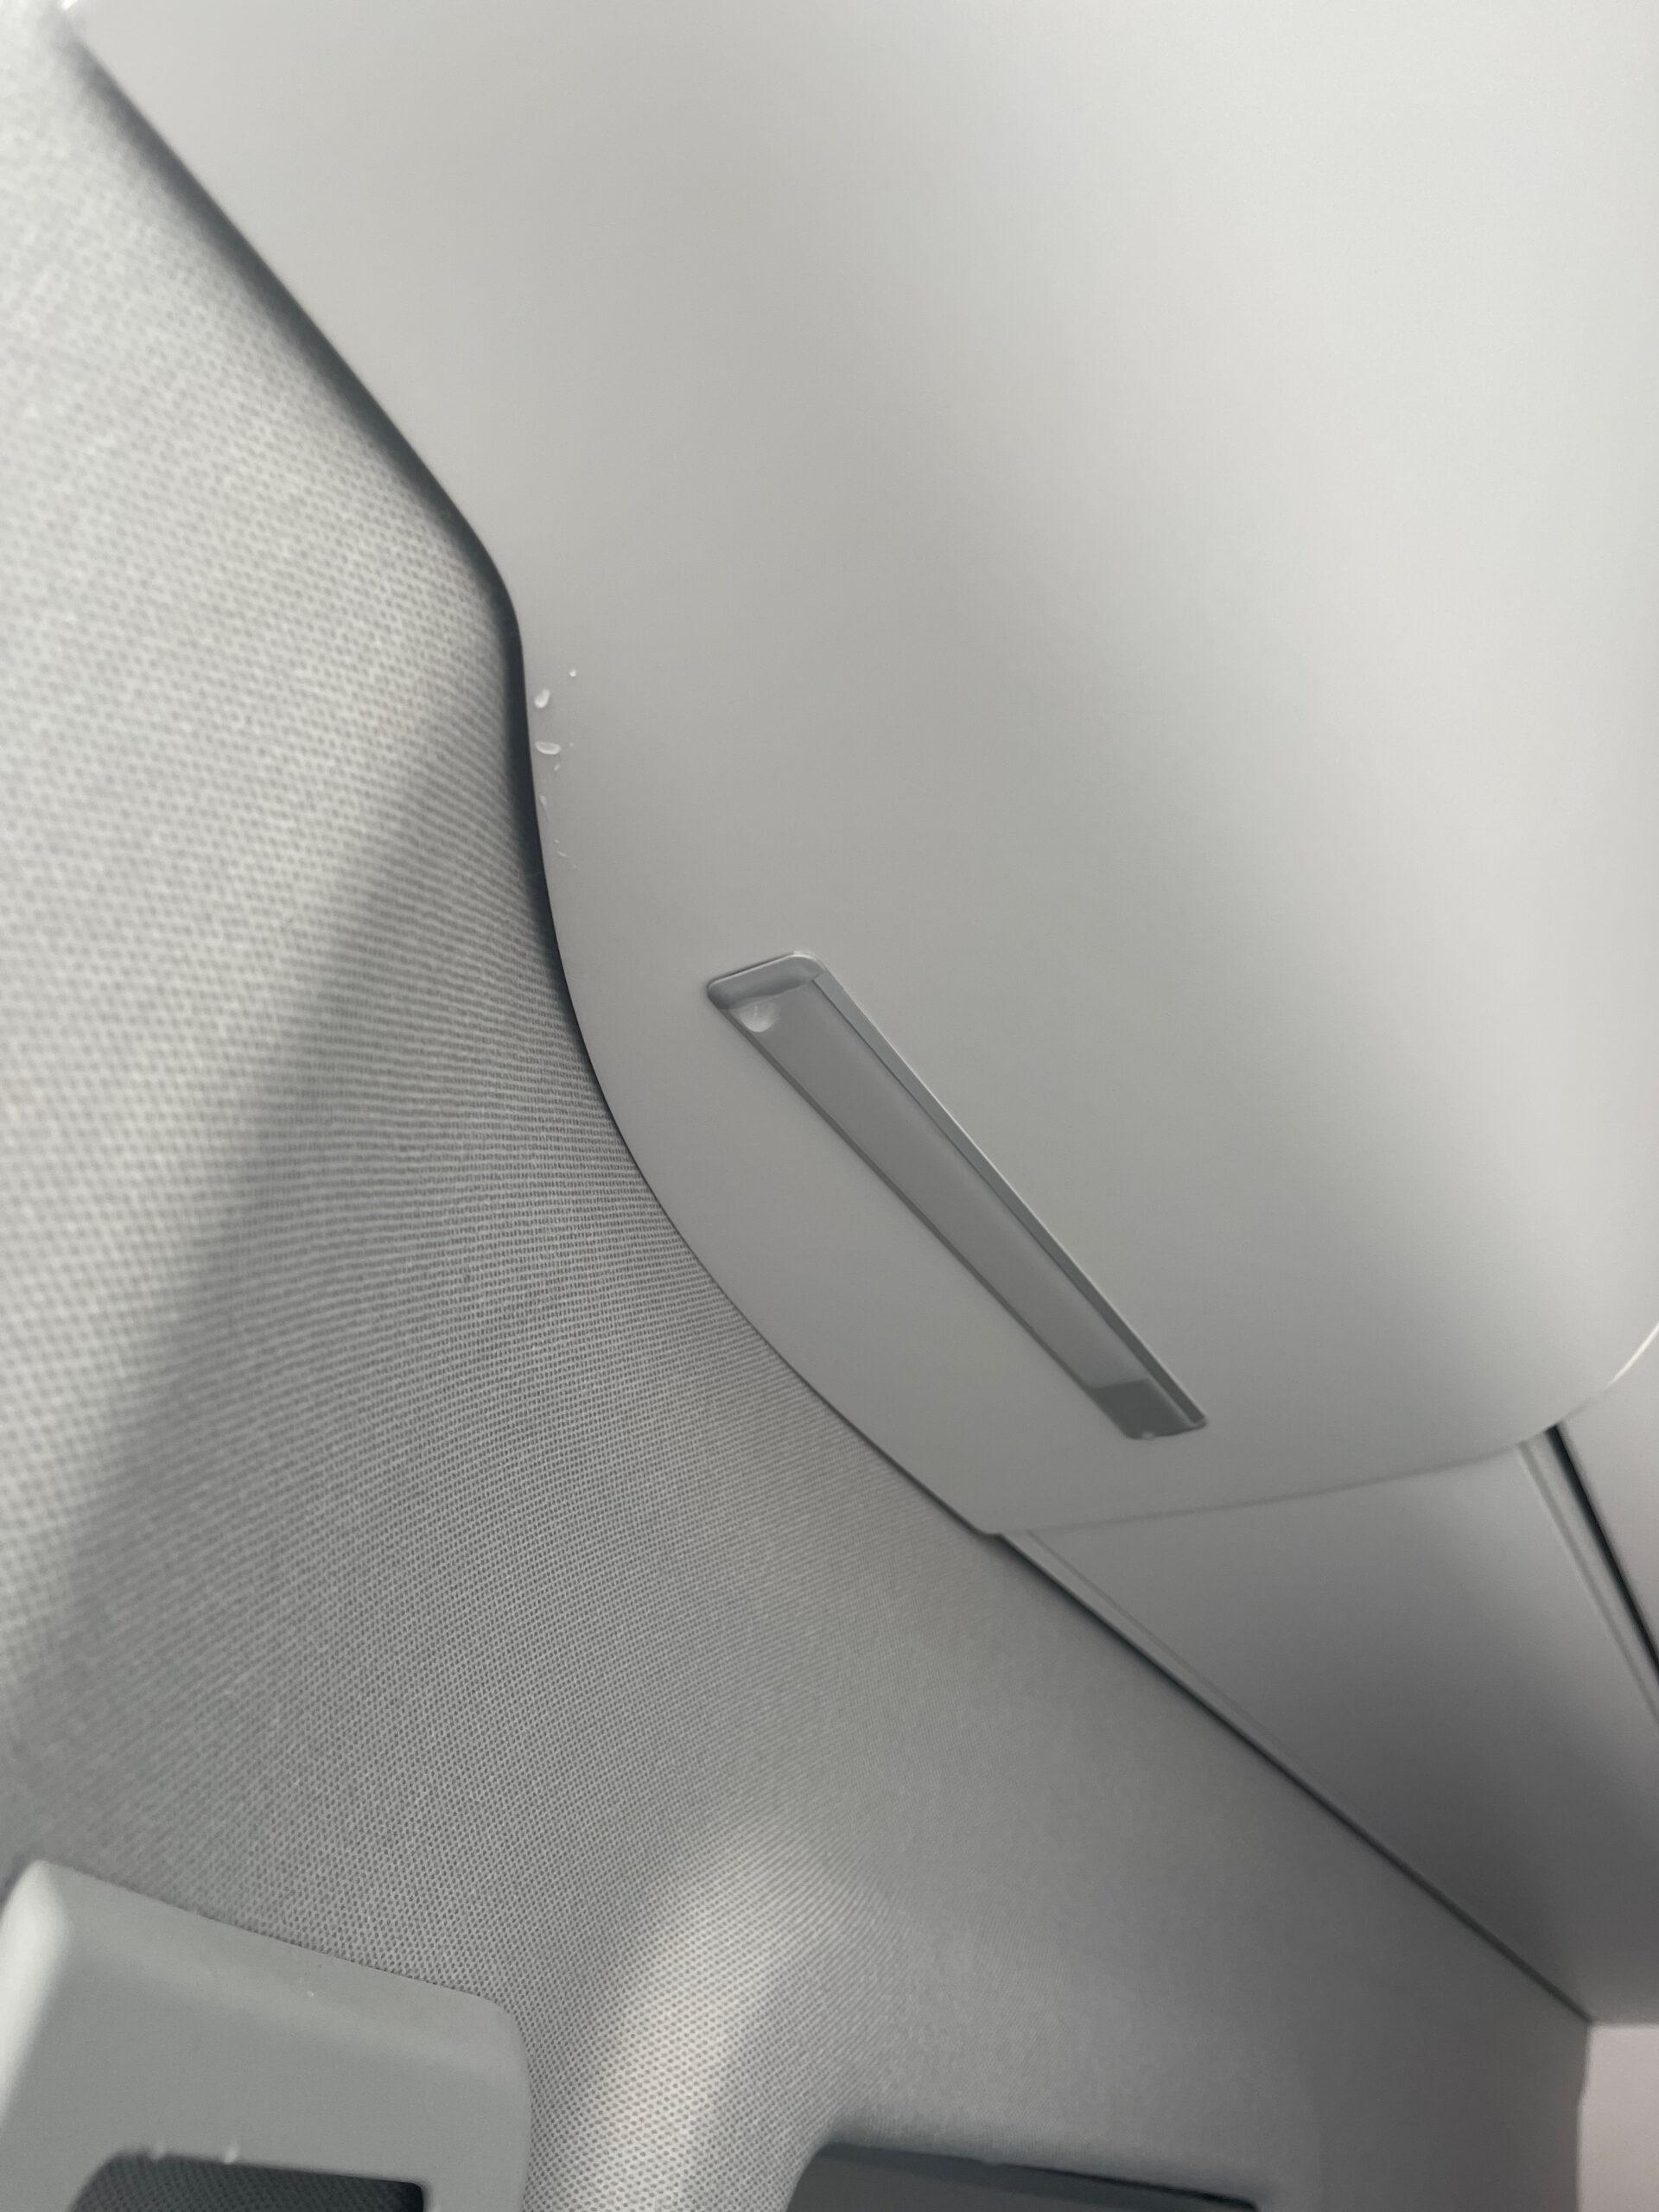
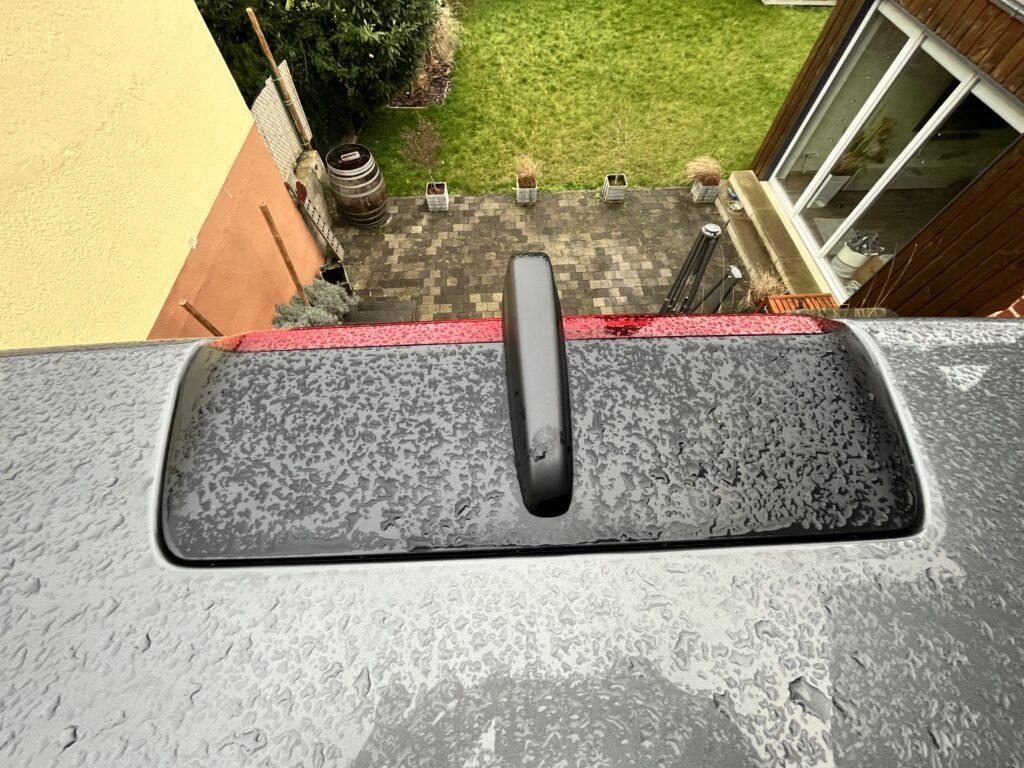
3 weeks later then the gau. In southern Sweden, where the temperatures that day were well in the plus, it suddenly dripped from the lamp on the kitchen block.

Of course, we immediately dismantled the lamp and we were met by a torrent of water. NOT GOOD! So where would the water come from? The thoughts went to the awning, possibly one of the holders is leaking and water runs in here. A look in the trunk finally revealed the problem ☹️
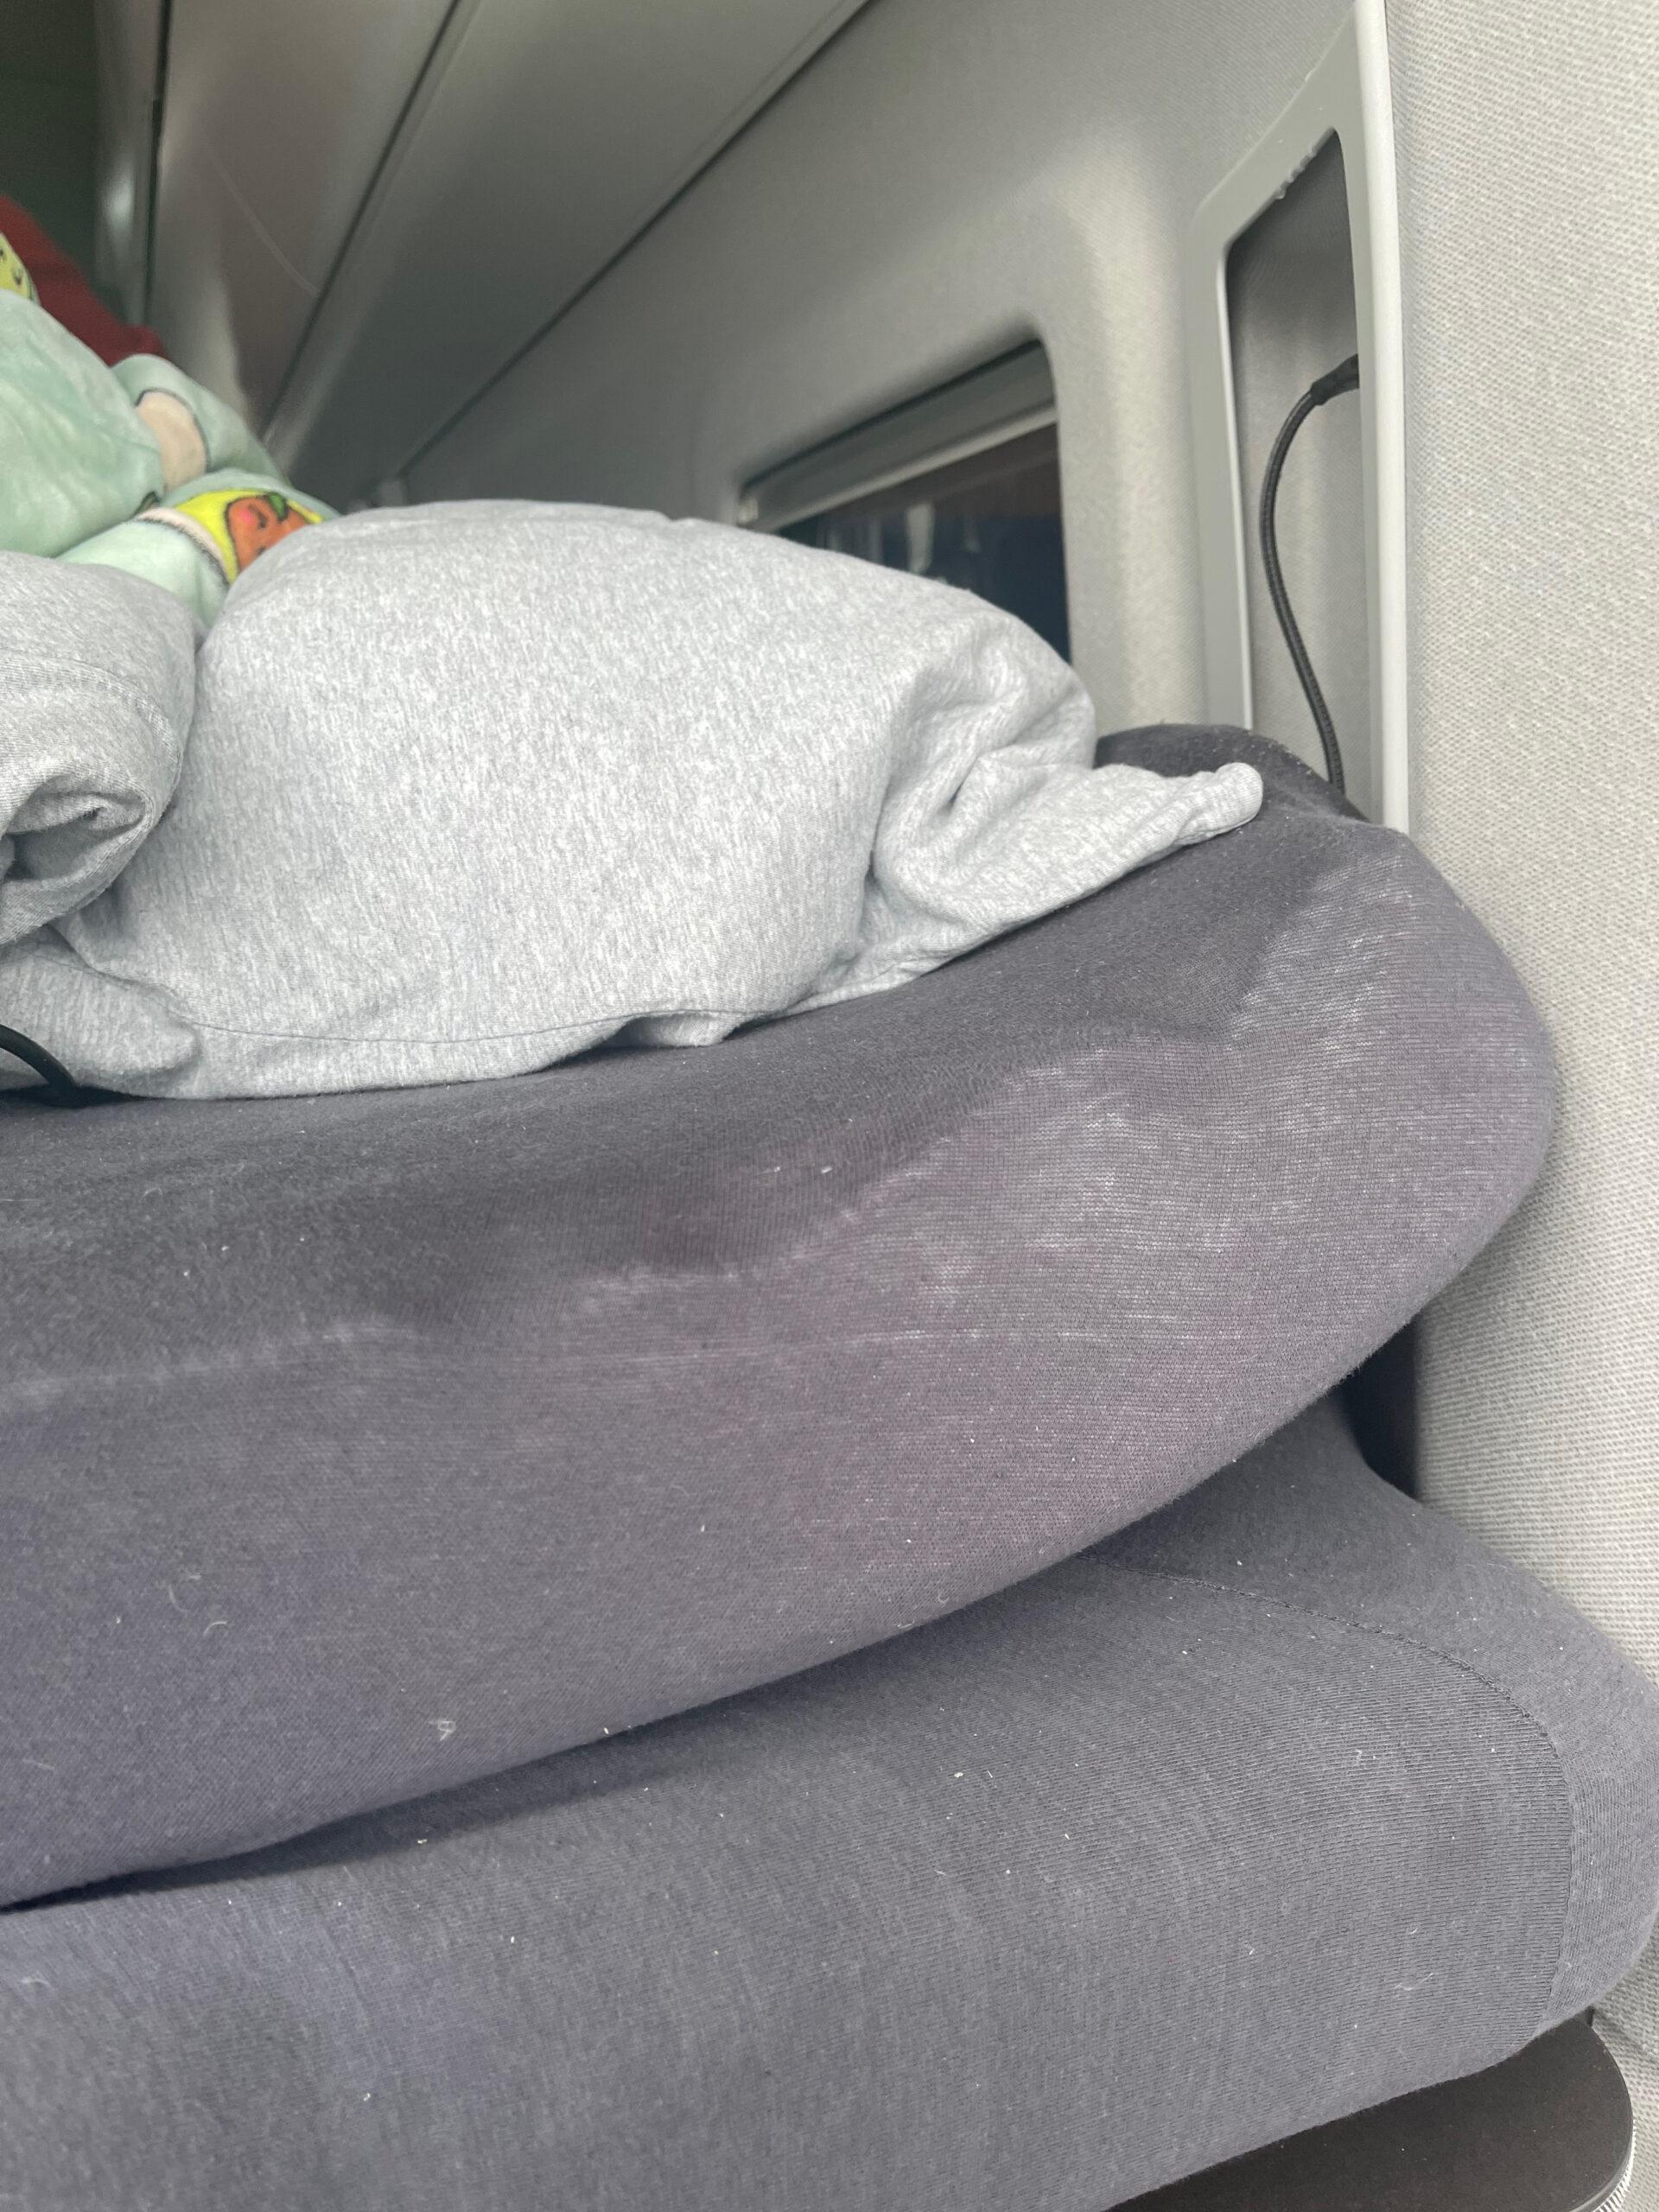

The water had also run out of the lamps by the bed and this could only have one cause. The 3rd brake light is leaking and the last inspection look at the cabinet confirmed just that.

Water everywhere!
The first thing we did was dry out our Cali so there wouldn’t be any more damage to the cabinetry, though the rear cabinet probably won’t be salvageable as it will inevitably swell from the water.
We had to do something
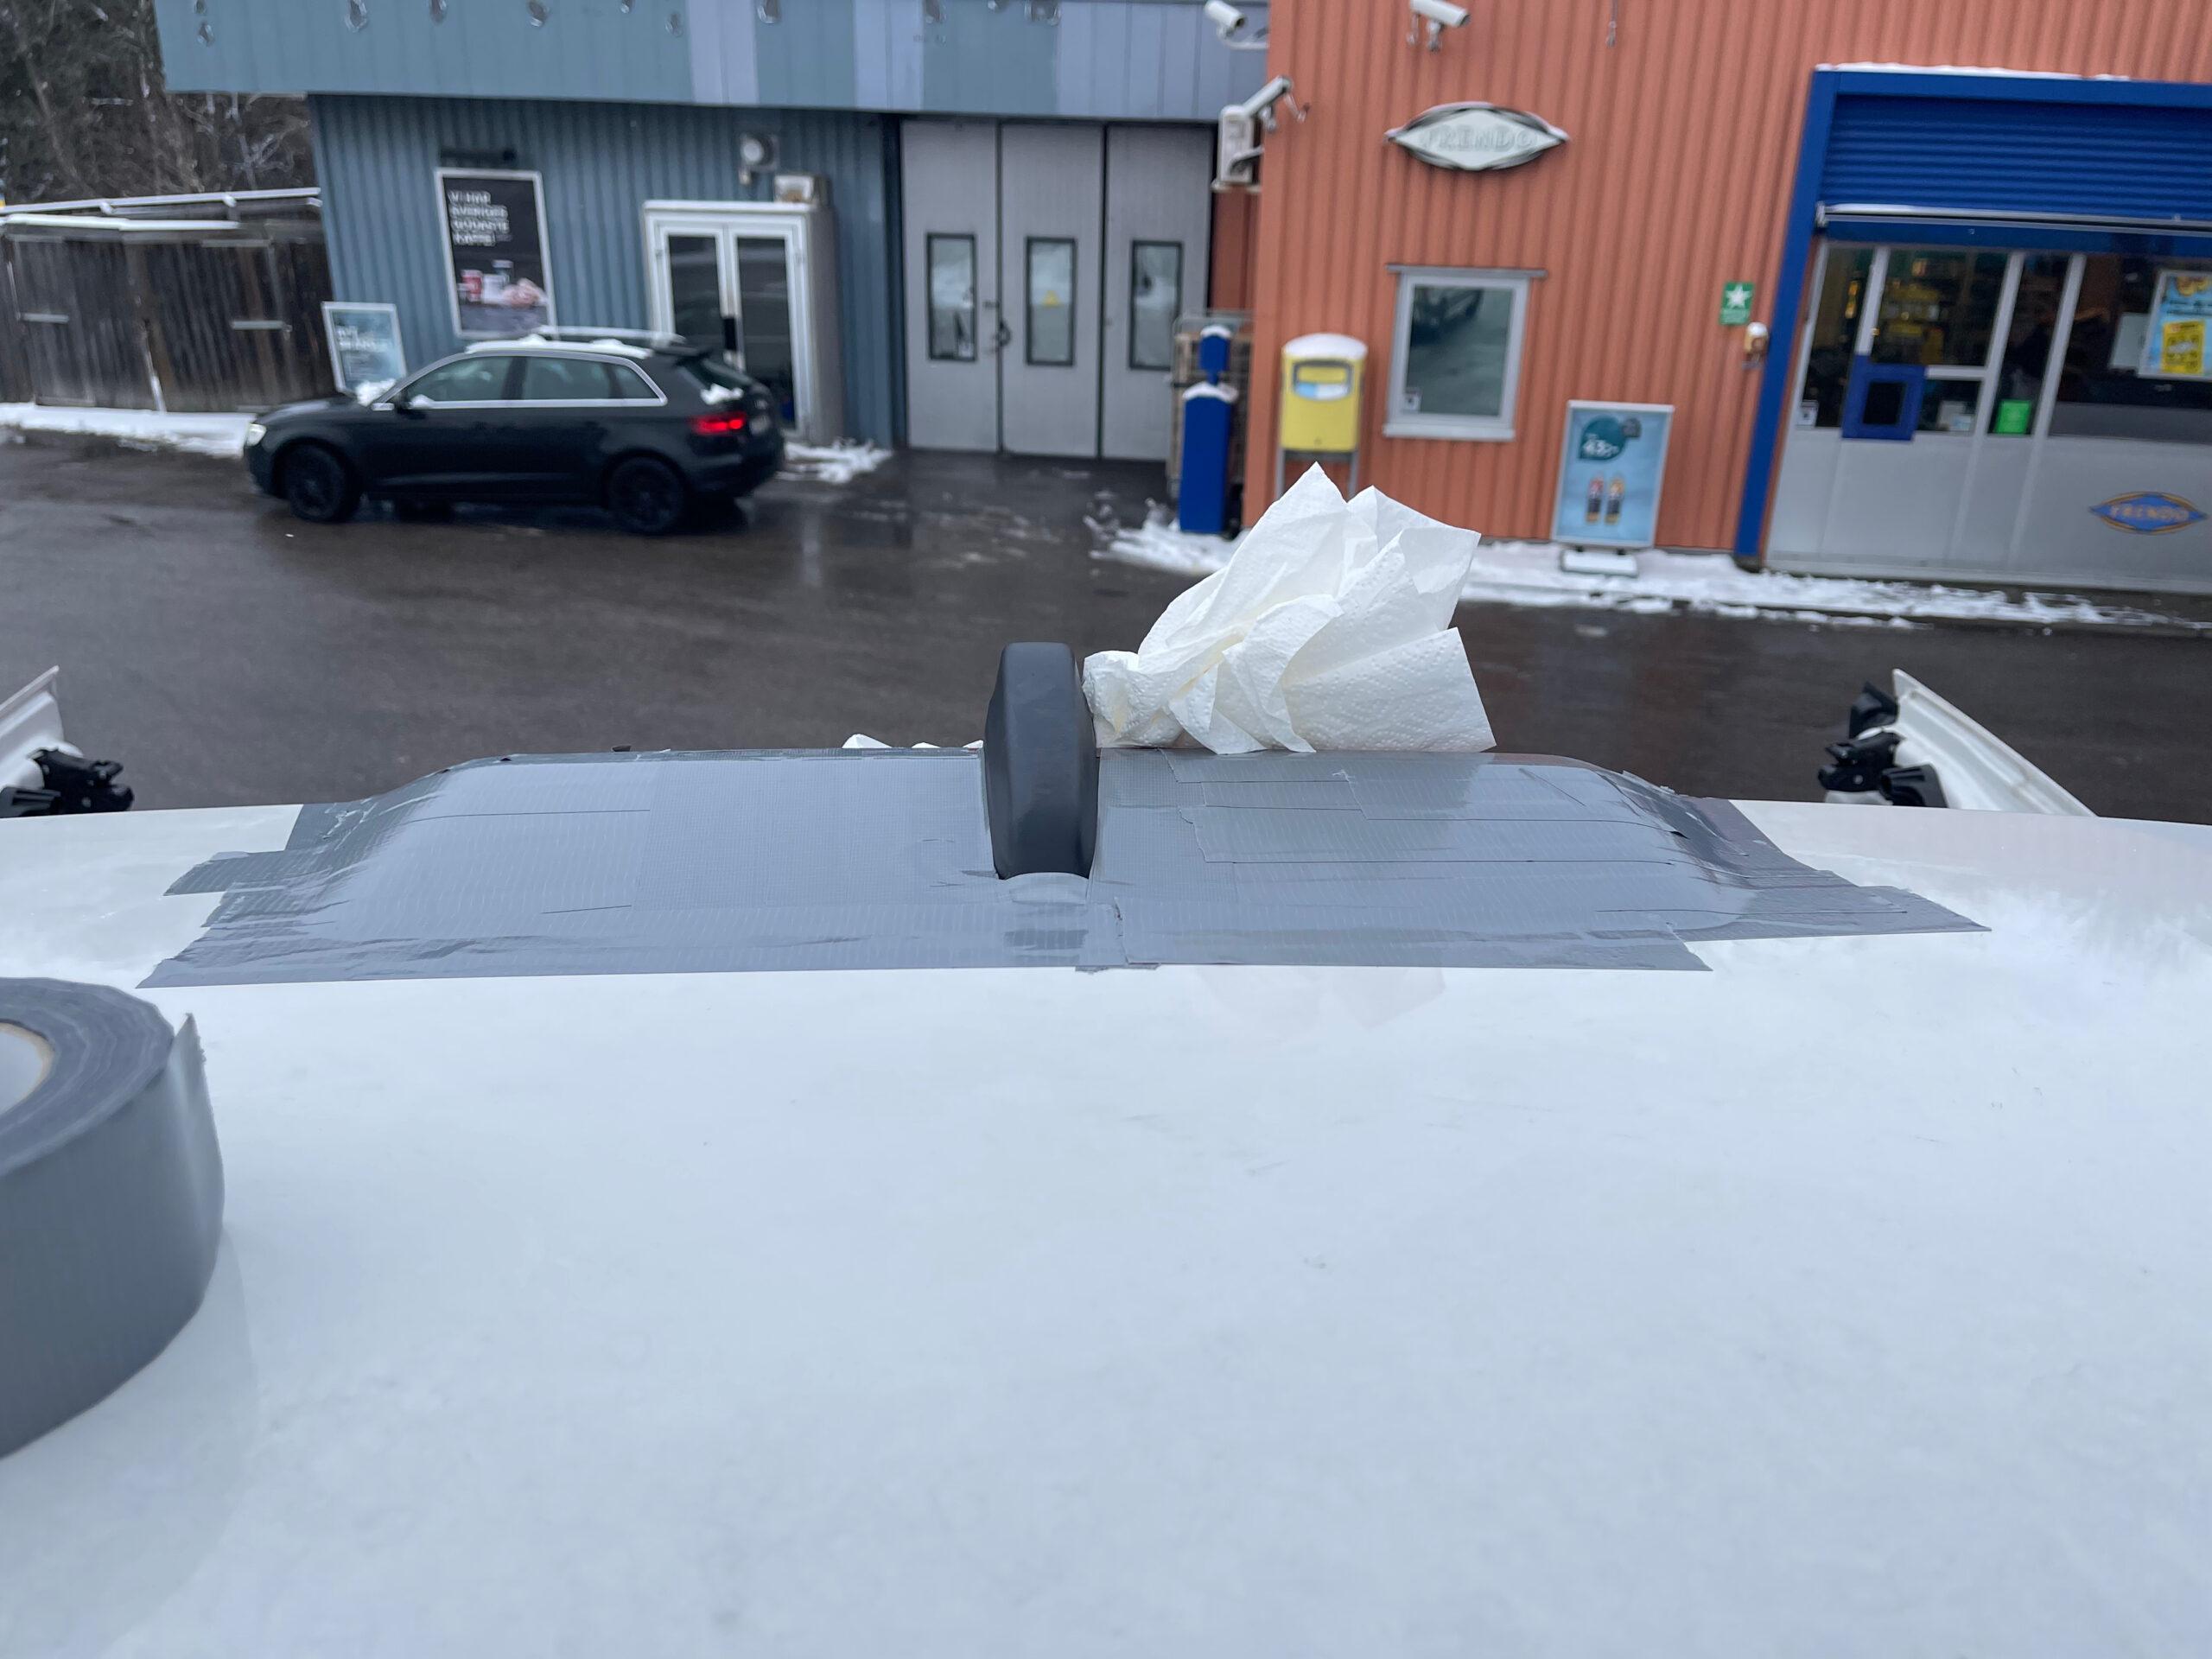
To prevent more water from running into our car, we resorted to our all-purpose weapon, duct tape.

So we can still bridge the time until the workshop.
But how does the water get to the A column now?
I have also asked myself this question over and over again. If the brake light is leaking, how will the water get to the very front? I can now provide the explanation from experience. The water drips through the brake light onto the rear cabinet and first finds its way through the lamps onto the bed. The rest flows forward on the cabinets during the ride.
Like a great little water slide, it then continues to the kitchen block. There, the lousy intruder has an easy time again and flows into the paneling above the door, past the lamp and finally into the cab. And Tada: it drips into the cup holder…
The solution
The solution is so simple and annoying at the same time. The worst part of the story is, Volkswagen is aware of the problem, also offers a solution in the form of a reasonable seal, but does not install it from the factory. Another hidden defect in the Crafter and outside the warranty the customer must also become a supplicant and hope that on “goodwill” the damage and any consequential damage will be repaired. Words really fail you, yes, it borders on deliberate deception.
There is even an official work instruction for Volkswagen partners in which the problem is identified and described, even as already indicated above, with a suitable solution. I advise anyone who has this damage outside of warranty and does not get a free fix from Volkswagen to go to a lawyer.
The official document states:
Due to the stiffness of the laminate roof and the material properties of the gasket, leakage may occur under different weather conditions and high temperatures.
And further:
To fix the leak, repair the third brake light according to the repair guide, taking into account the following variant:
Attach butyl cord (AKL 450 005 05) along the seal of the auxiliary brake light. An example of a possible adhesive application in Fig. 1.
If this measure were now carried out preventively, for example as part of an inspection, there could be no complaints. But once again they wait until the customer’s vehicle is badly damaged.
Many suspected this problem was exclusive to the Grand California 600 because it seems to be disproportionately affected. We can now confirm, it happens exactly the same way with the 680.
If you haven’t had the damage to your vehicle yet and want to avoid the hassle, simply seal the brake light yourself. We got a great tutorial from Sascha, thanks a lot for that!
Instruction from Sascha
Sealing 3rd brake light
Volkswagen Grand California
Some of you have certainly heard about this problem. A few are still hoping it won’t hit them and still others have had this problem.
Subject: 3rd brake light leaking. It looks like the foam rubber seal on the 3rd brake light is not designed to keep water out permanently. Result: sooner or later, the water runs through the 3rd brake light into the interior and then seeks its way. Water can then leak out of the walls and run down the trim, or even find its way to the very front and come gleefully bubbling out of the grab handles on the driver or passenger side.
Since we didn’t want to wait until it hit us, we took heart and approached the issue proactively. Here is a small guide to what we did (we assume no liability for correctness and completeness)
It was exchanged on our GC600. We don’t know what it looks like with a 680.
Complete duration:
- 90 minutes
Tools used:
- Ratsche mit Inbus H4
- Tuch zum Reinigen
- Scissors for cutting butyl tape
- Tuch zum Reinigen
Material used:
– Butyl tape / cord from Amazon Link see below.
Prerequisites:
When Volkswagen makes the replacement of the seal, the entire rear cabinet must be removed. Since we didn’t want to do this, we figured out a way to do it without removing the cabinet.
1. access to the 3rd brake light
It’s relatively easy to get to the brake light through the rear roof hatch, and it’s also easy to work on. Nevertheless, care must be taken not to suddenly push the hatch open too far with the upper body.
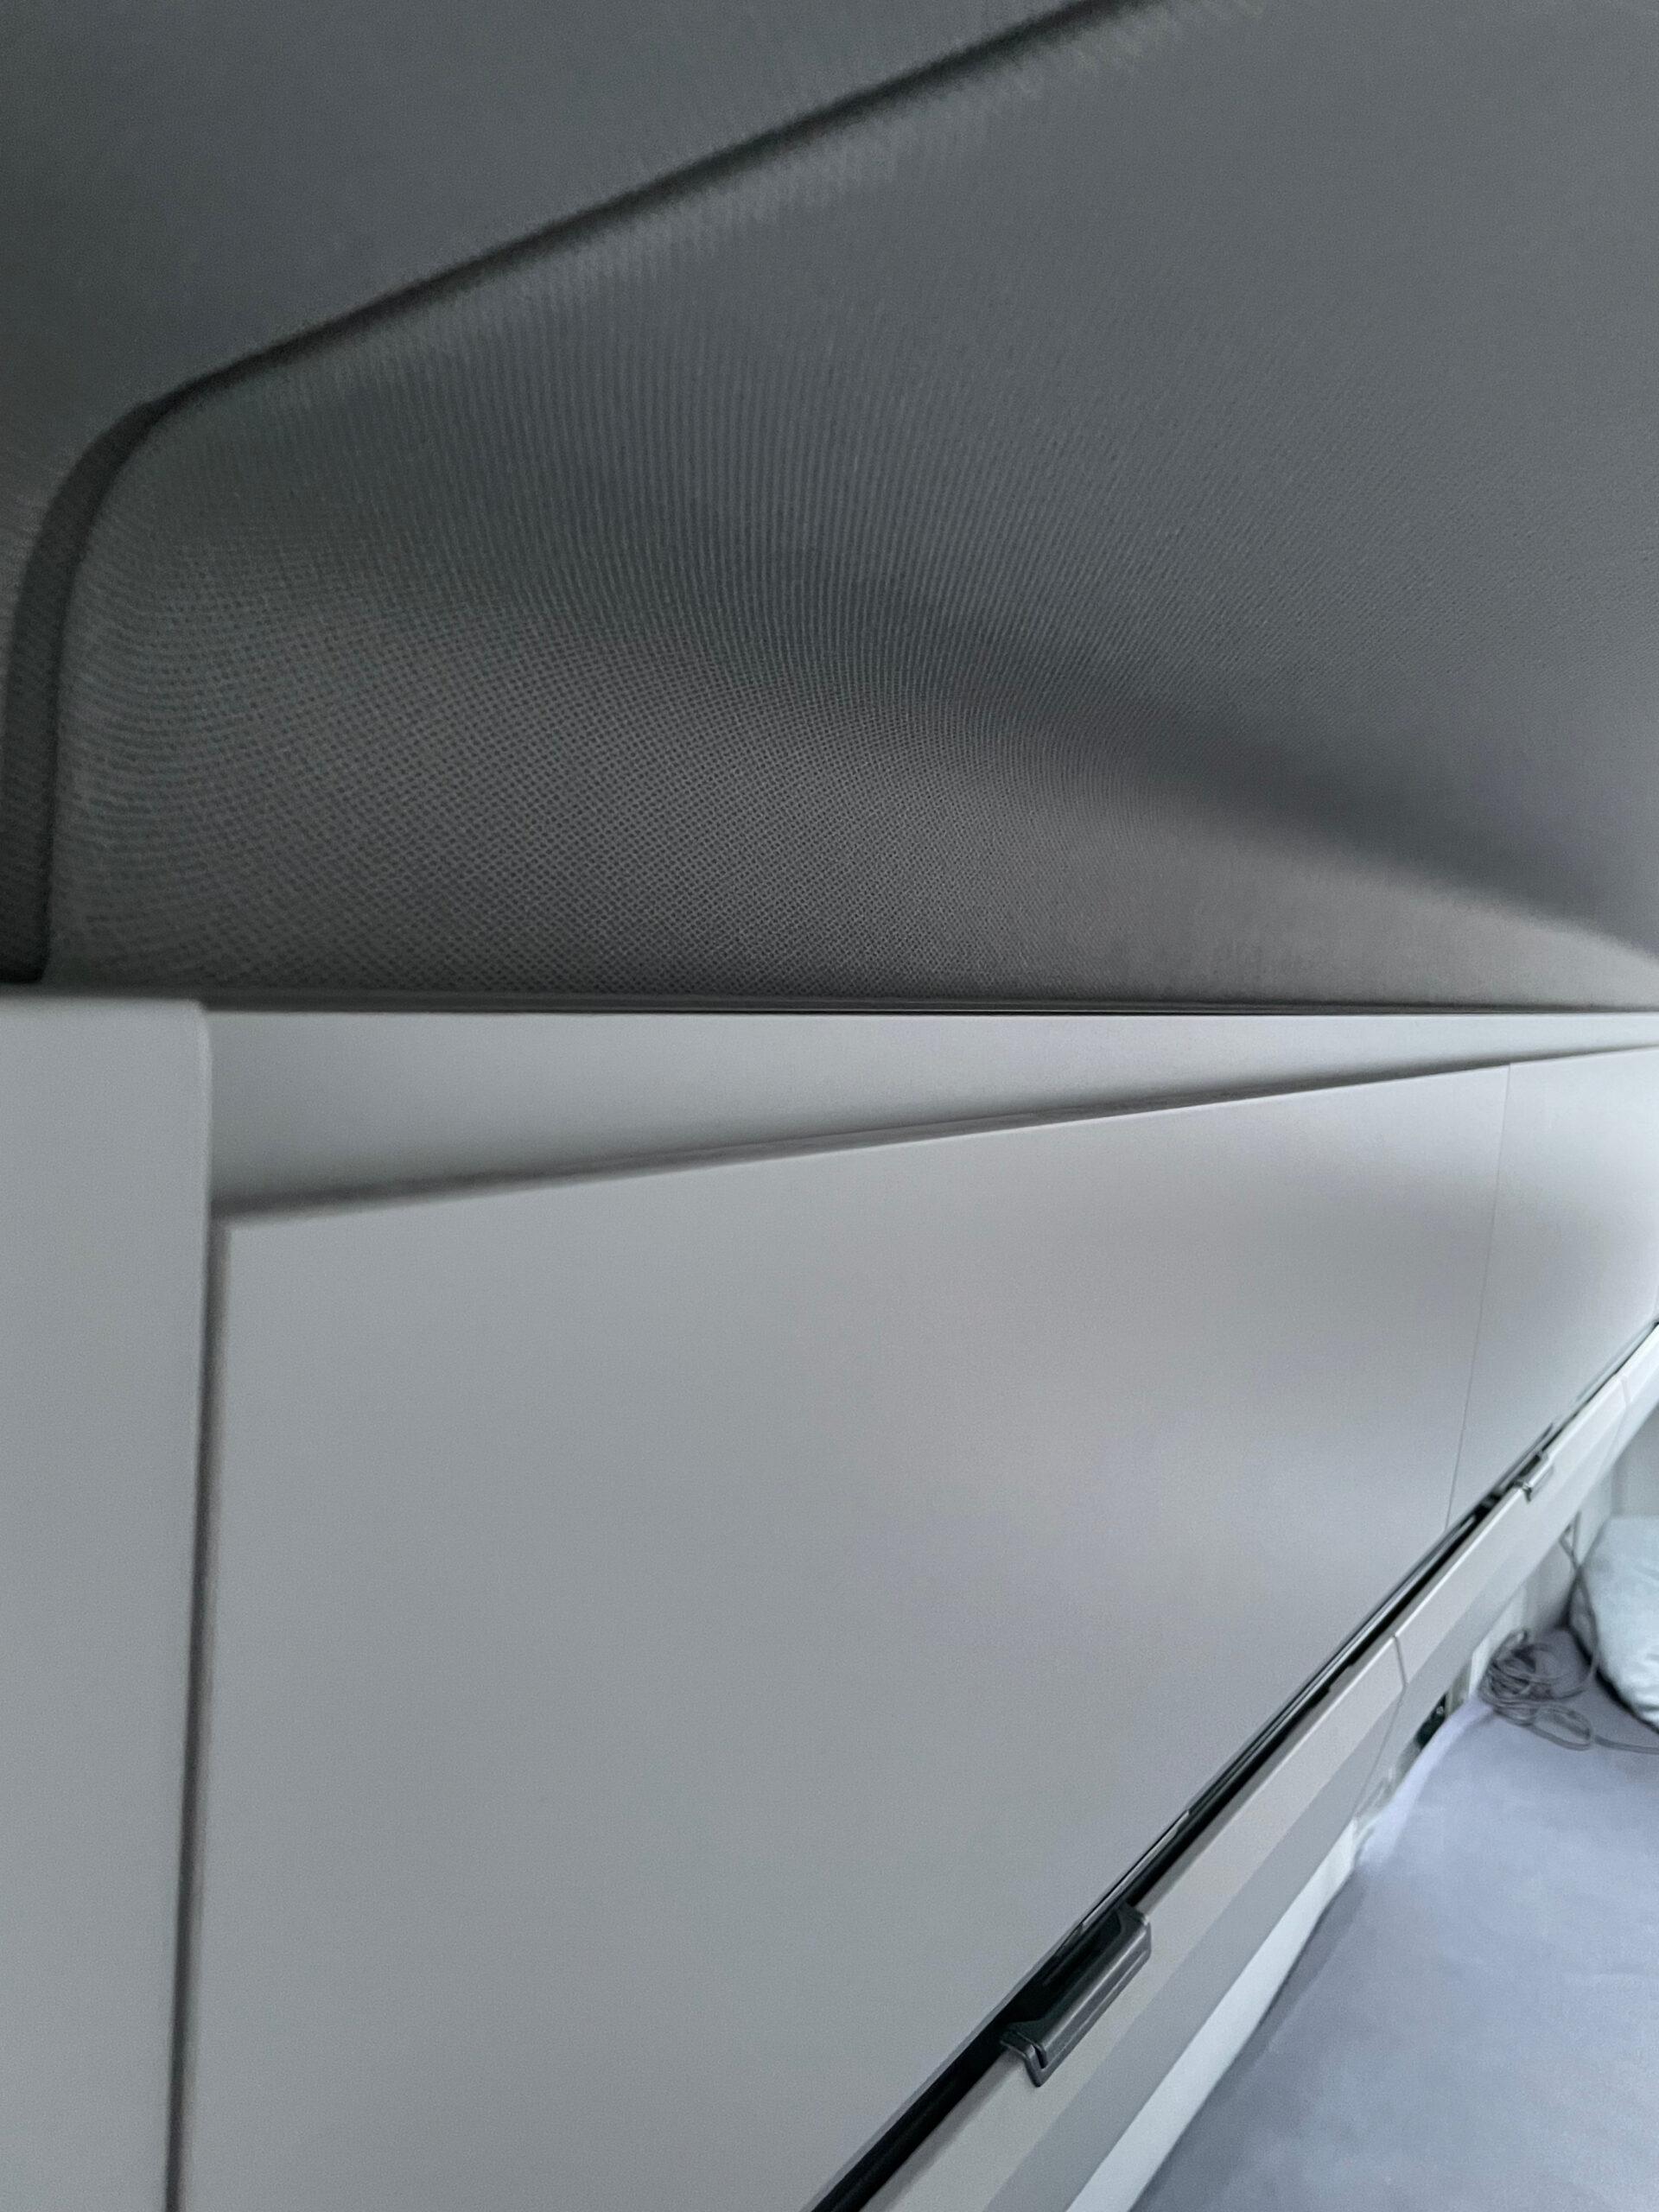
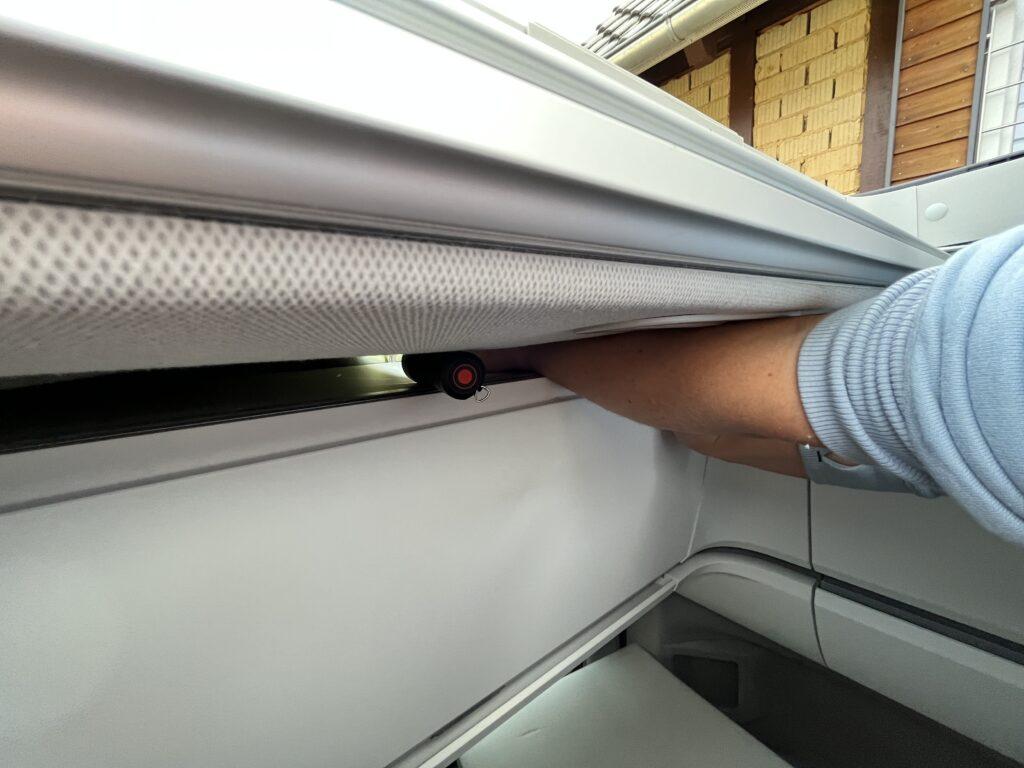
2. loosen ceiling paneling a little
Push ceiling paneling up a bit so you can work. The ceiling lining is only hooked and quite flexible. You can release them from 2 clips and then wonderfully put through the thick sausage fingers and hands.
I put a small flashlight between the back cabinet and the ceiling trim, so I always had enough light.
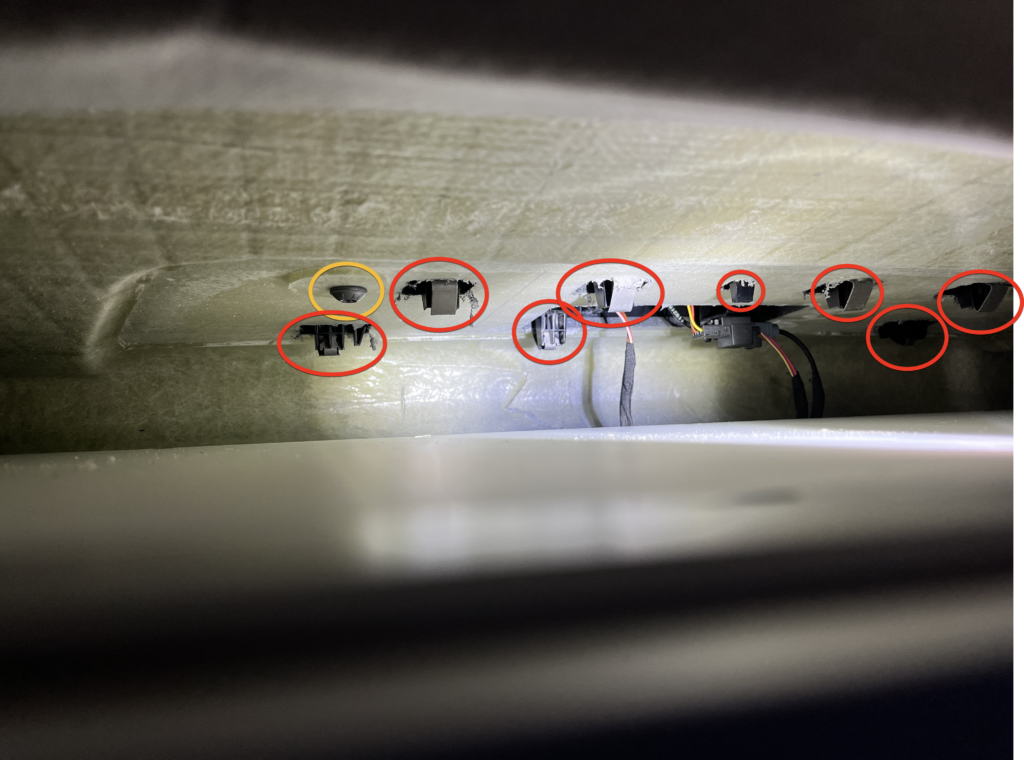
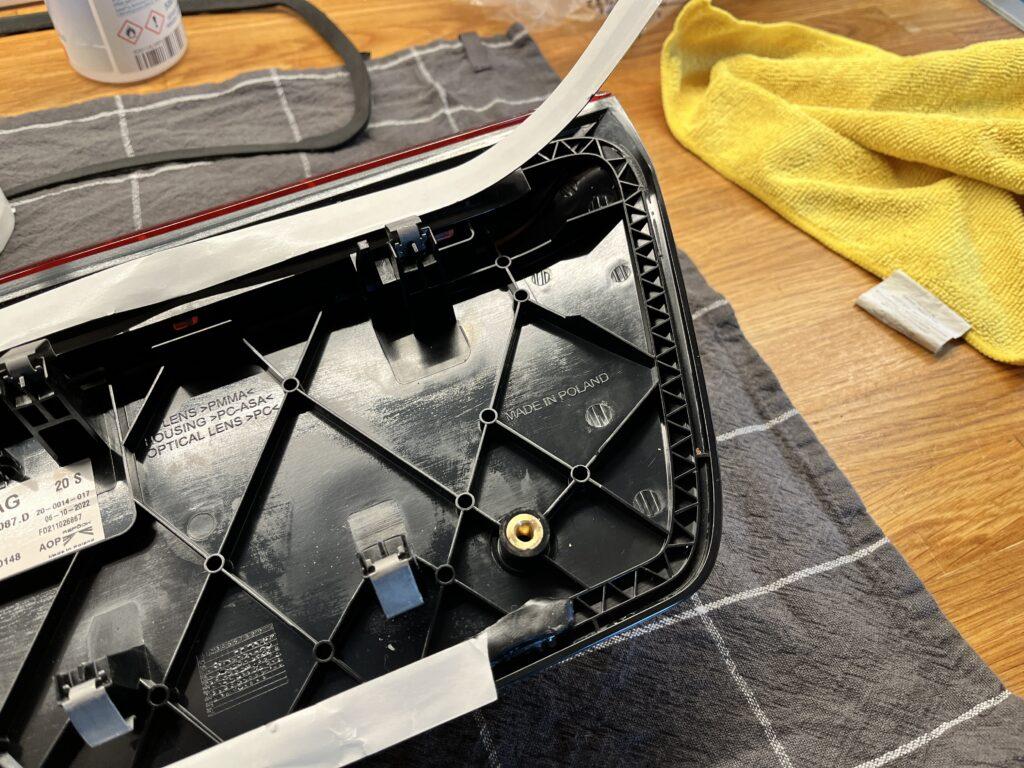
It will look something like this:
You can see very well the clips with latches (red) and the 2 screws (orange) as well as the cables for camera, power and brake light.
3. loosening the two screws
Now I am not a gazelle and my arms are anything but thin, but with a little skill you get the hand inkl. Arm in the gap between the cabinet and ceiling paneling.
You can loosen the screws quite easily with an Allen bit H4.
Note 1: Of course, I didn’t put on any gloves and quite quickly had all this GRP crap on my hands. Itches a little. If you are sensitive, better put on some gloves.
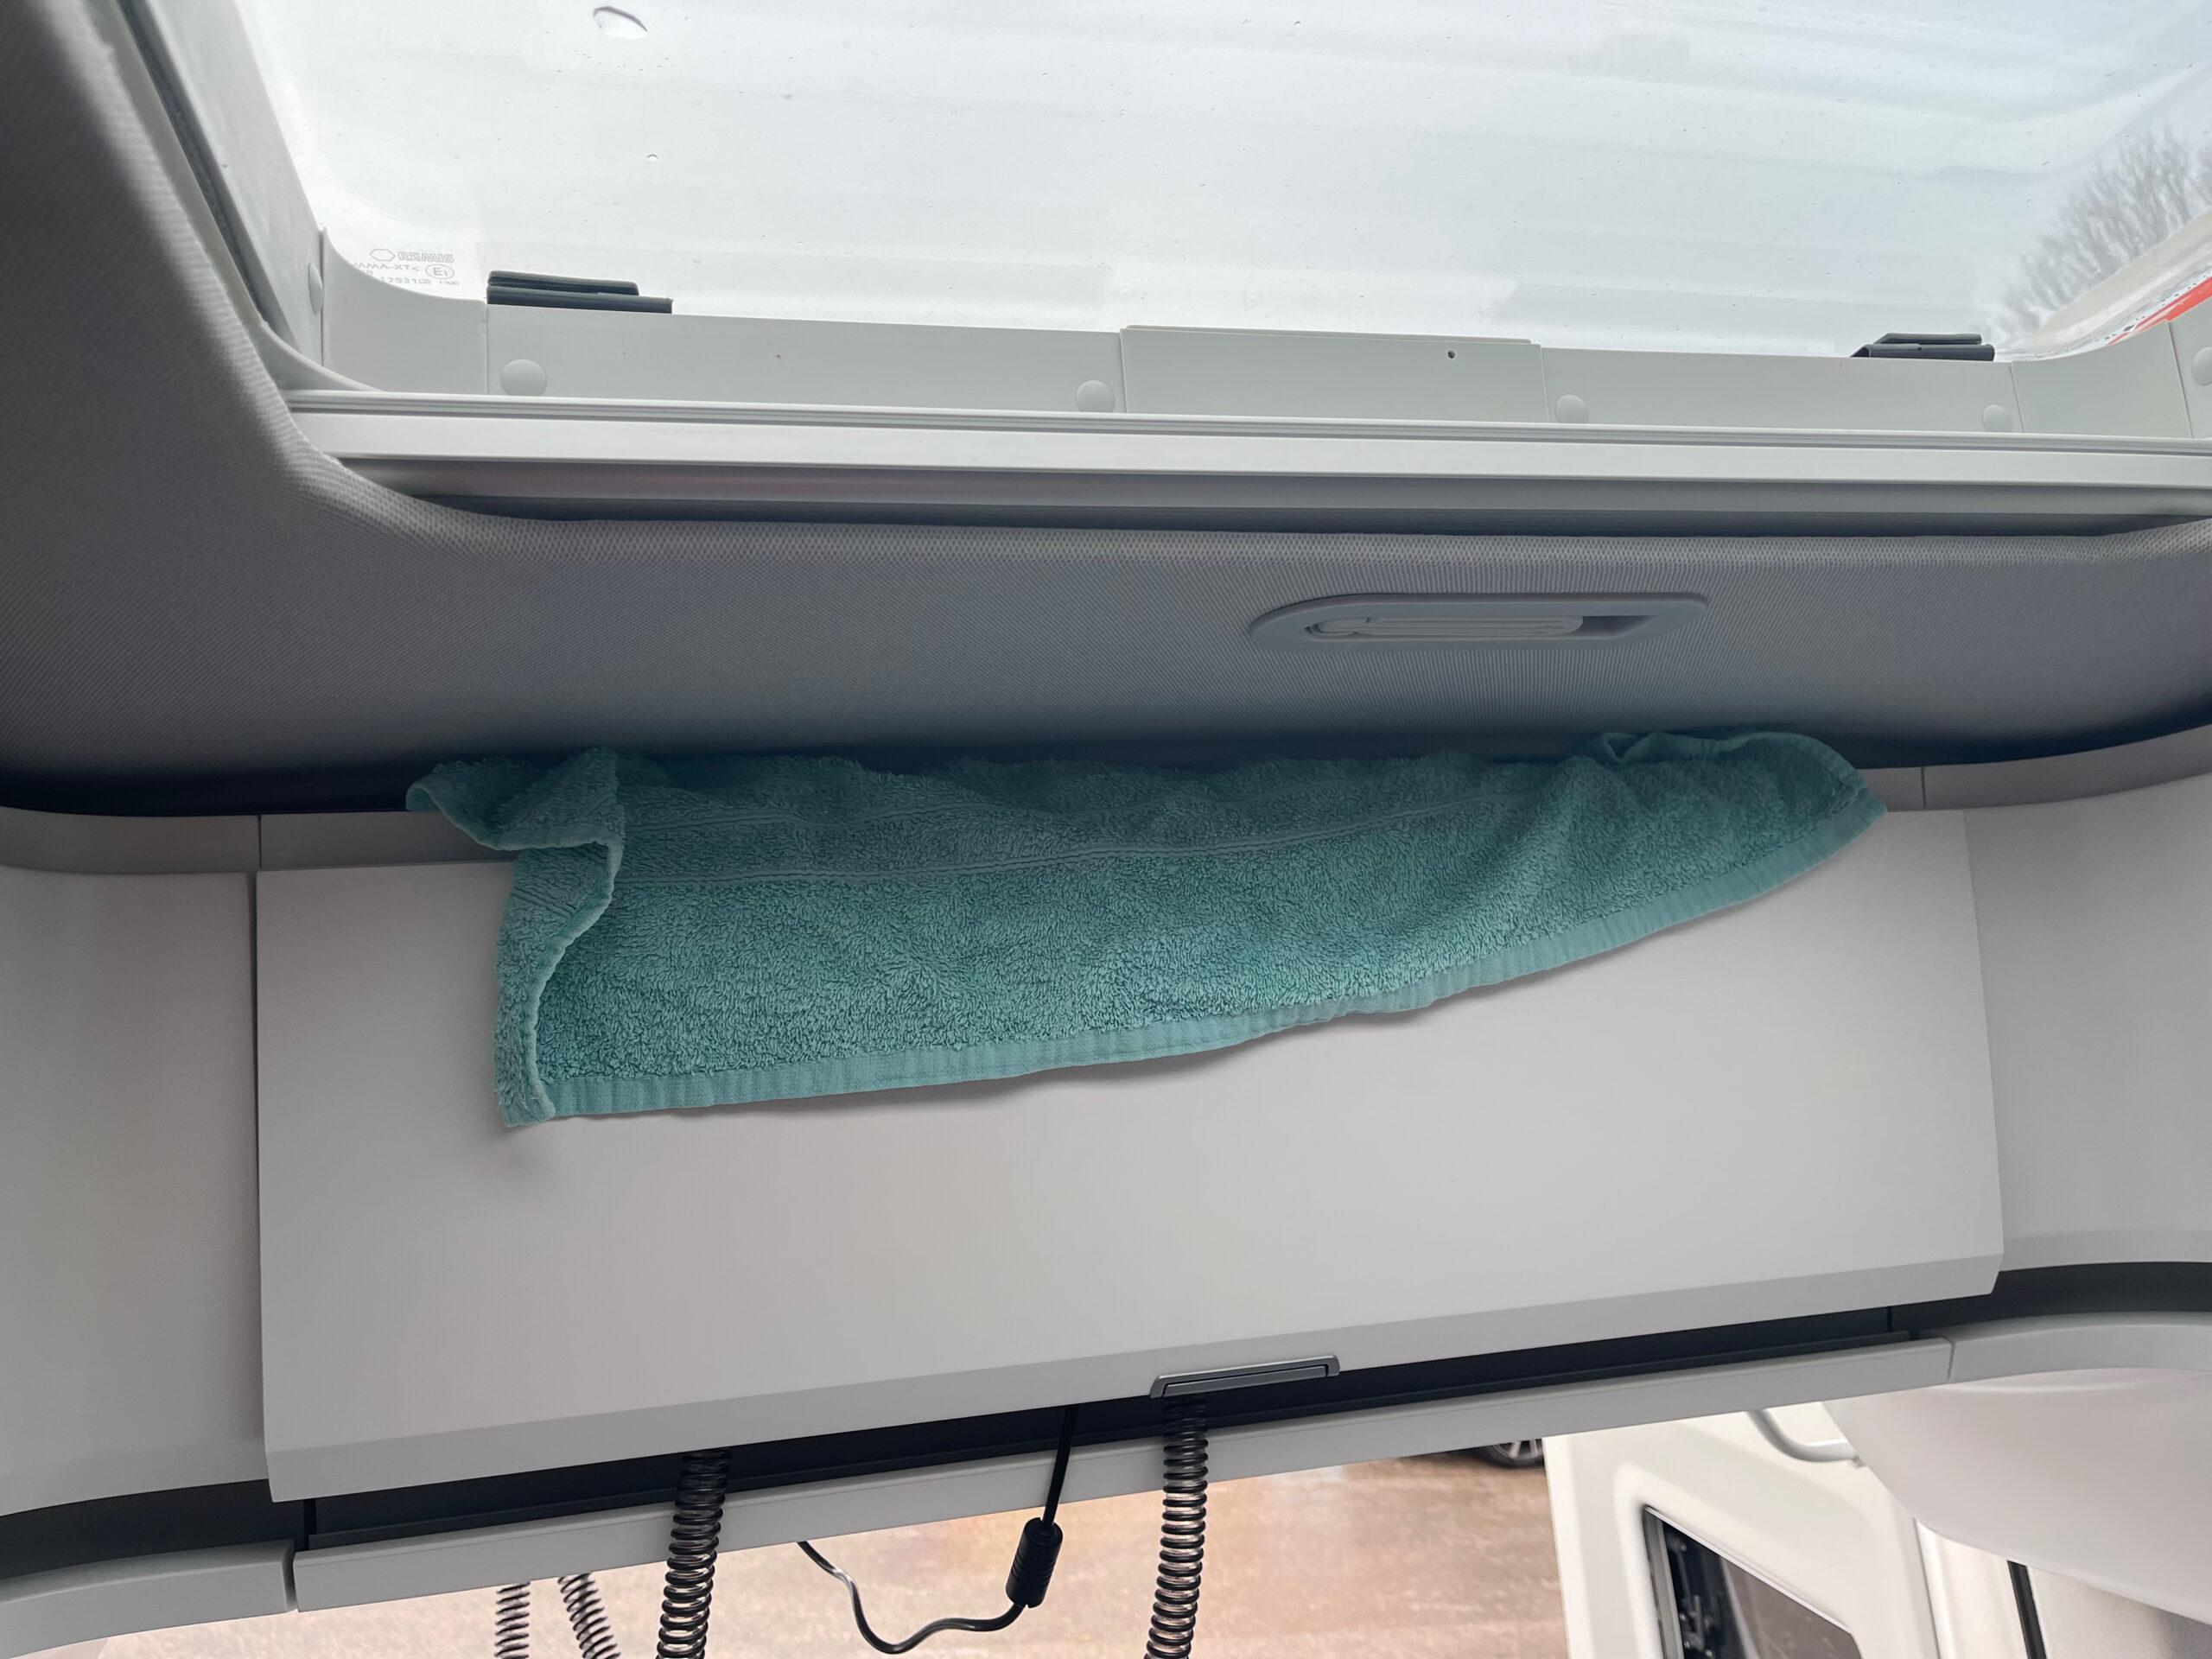
Note 2: I pushed a towel through to the very back (not visible in this photo because I took the photo first) to close the rear gap because I was afraid that a screw would fall off and then get lost in the depths of the Cali. You should do the same.

4. unhook latching lugs
If the screws are now off, then you only have to loosen 8 detents. We did this with a screwdriver. Simply press against the metal clip and the whole thing comes off. It is not necessary to loosen 8 detents. 6 did it for us too, after that the whole thing was loose enough.

The 4 front detents go quite easily. Press the screwdriver against them and they pop open. The 4 rear ones require some dexterity and a thinner arm. My wife had that one. She put the arm all the way into the gap between the cabinet and the ceiling trim and was able to release the detents (at the back) by pulling forward. This took a while and was a bit of fiddling, but it works out.
5. Lift off 3rd brake light
Now press lightly against it from below and the whole unit comes off the roof easily.

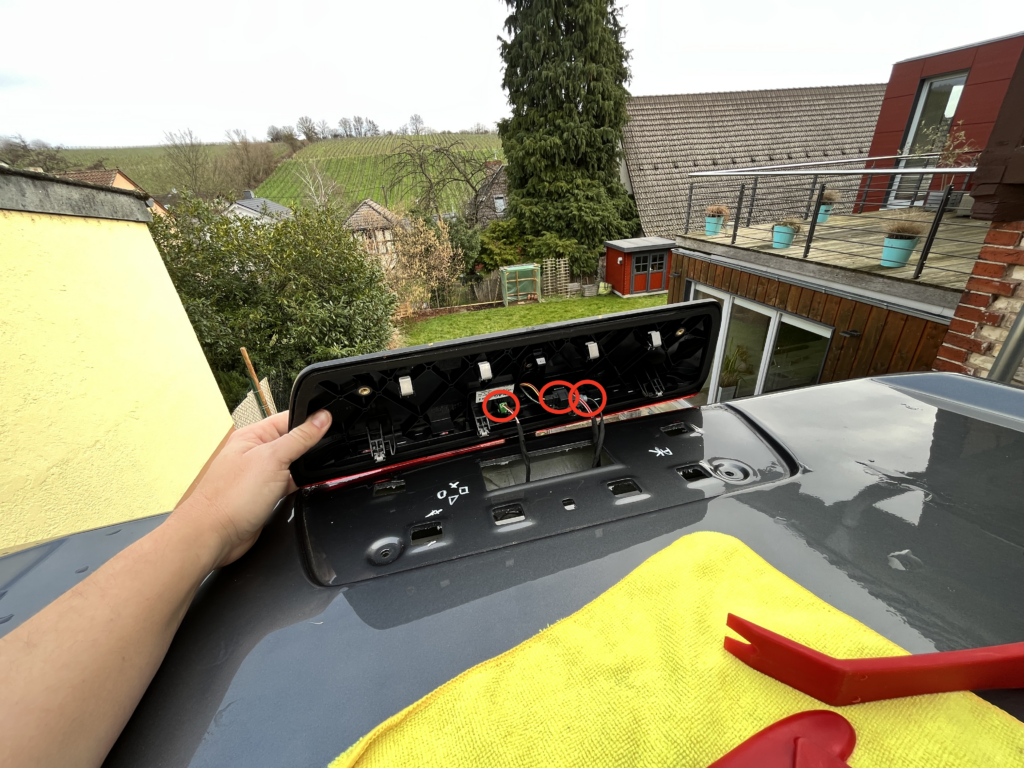
I would like to say right away that I did not have to use the red wedges in the picture. That was my idea in the beginning, to be able to solve the unit. But was not needed.

6. disconnect the cable from the brake light unit.
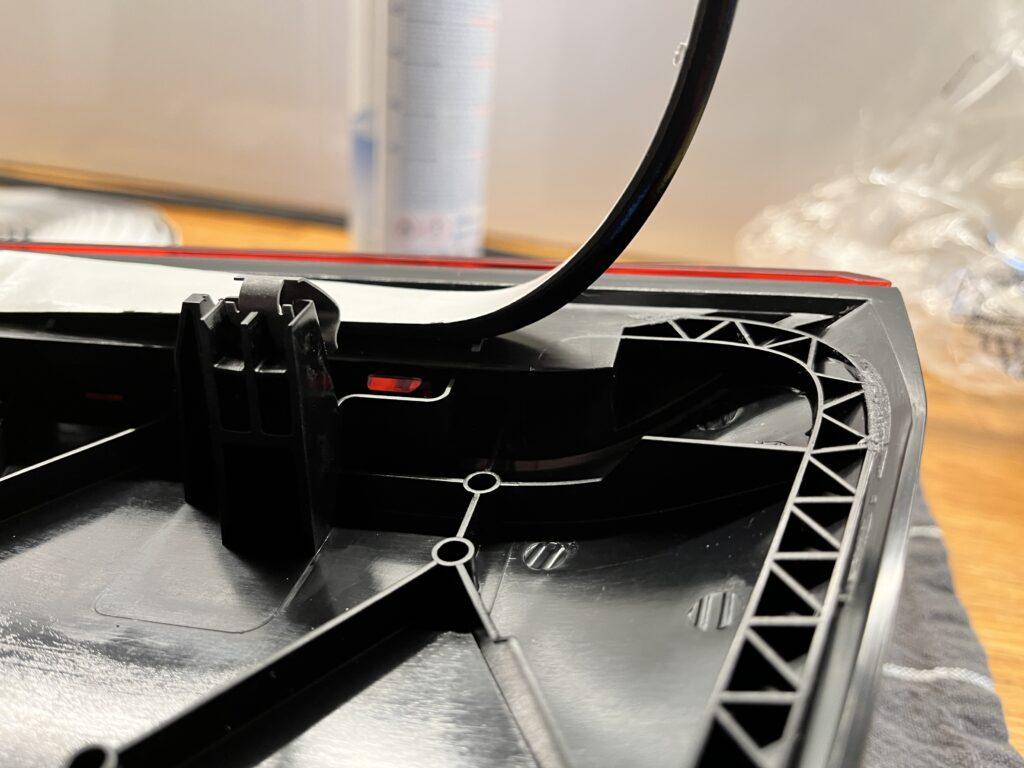
In total, only 3 cables need to be disconnected. I always wonder why all 3 cables have different plugs. But anyway…
Goes quite easy to separate. Also does not require a tool.
I have marked the 3 connectors in red.
Afterwards I fixed the free cables a bit, because I was afraid that they might slip into the depths of the Cali and I would never be able to reach them again.

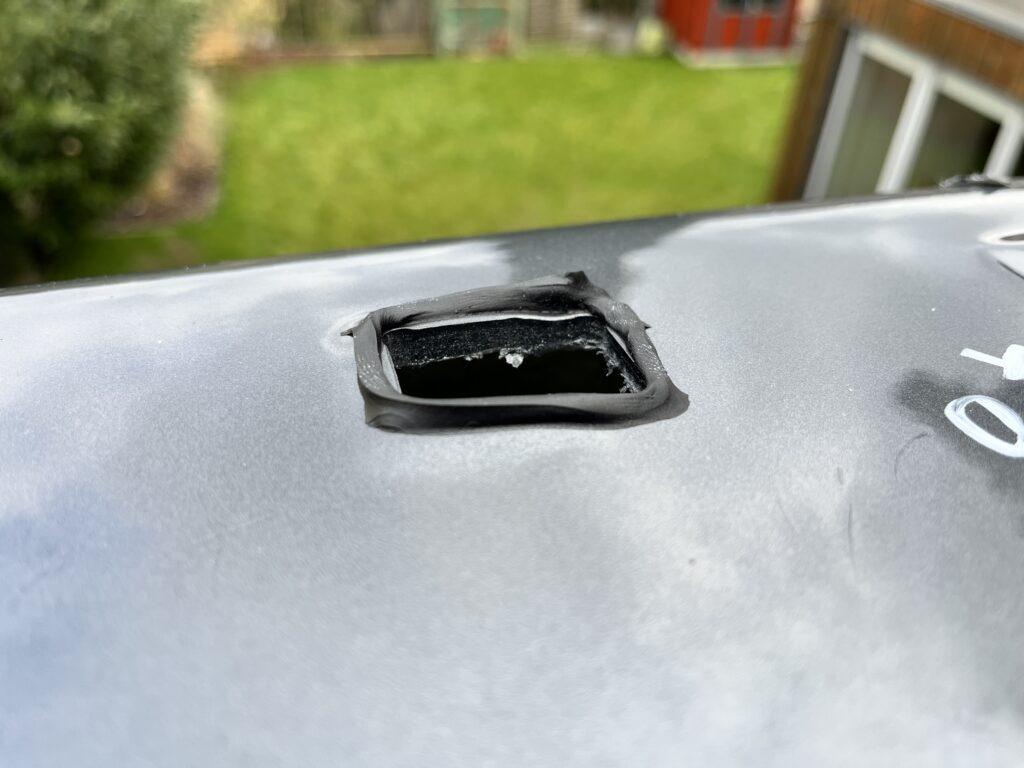
7. clean the installation trough
I used a cleaner to clean the entire recess after disassembling the brake light unit. In any case, you can see that water and dirt has already penetrated into the crack and collects there. The vehicle is just 1 month old.
The rest directly under the brake light was still dry, but we are sure that at some point the problem of water ingress would have hit us as well.
8. remove foam rubber
Note: We decided to remove the original Volkswagen foam rubber. It honestly still looked quite ok (wow…after 1 month!), but since yes the foam rubber is the real culprit of all the chaos and water ingress, I asked around again in Caliboard.de. I was advised to remove this foam rubber, because sooner or later it will dissolve anyway and then no matter how, we will have a leak again.
So away with the trash. Volkswagen is welcome to have it again.


9. bond butyl tape
We have read (also via the Caliboard) that Volkswagen’s TPI supposedly states that a butyl tape should be taped over the foam rubber gasket.
So we ordered the following butyl tape:
Seems to have good properties, especially important for us was the information “…Temperature resistance: -40°C to +90°C…”
We roughly cut the length from the roll and then glued it to the zig-zag pattern of the unit. Lightly pressed, not too tight. Then nicely laid around the curves and once all around.
In the curves, we again cut off small pieces and padded the curves. So just for safety, because we thought that the radius of the curve could somehow create gaps if necessary. No idea if that would have really happened, but now we are sure.
The butyl tape is easy to process. Super cut to length and especially if you leave the tape on the tape also stick cleanly and then just pull off the tape and good.
10. optional: seal cutouts on the GRP roof
No idea if this is really necessary. Maybe not, but “double is better”, right? Once that brake light unit is gone, we might as well “lay” some extra butyl tape sausages.
All recesses for the brackets and the screws are minimally raised. However, should water ever flow there, it certainly won’t really hold. So we put a few more “butyl sausages” around the recesses and glued them in place.

11. screwing
Then carefully put the brake light unit back on, push the clips through the holes and screw everything together again from below. Goes easy.
When you reconnect the cables, check that you also have a picture on the screen again before installing the unit completely. Once the whole thing sticks, it sticks. And do it right.


4 comments
Hey just wanted to thank you guys for taking the time to post your brake light repair on grand cali- you saved our holiday and obviously the cost of it!The morning we were setting off 700 mm wet patch on bed- not good,luckily I had seen your post and bought the tape from Amazon previously.I have a full tool kit as I am an engineer and stole the wife’s hair dryer.2.5 hours later and with cuts on my hands we set off on holiday all thanks to you!
How stupid VW don’t re design the seal!
Thanks again we owe you one!👍🏻
Thanks for visiting our website.
😍
Hi, we were on holiday for a week, and as if by magic we noticed a wet patch on our duvet beside the rear small window of our cali 2022 model year, previously 6 weeks before this we had it serviced and its first mot carried out the vw dealer told us a recall was to be done and would be carried out on the same visit as service and mot which we thought great get it done all at the same time while the van was with the dealership, so when we saw the damp patch the first thing I thought was the recall work was leaking, as we found droplets of water coming from the rear cabinet at both ends so we emailed the service manager and told him we were coming straight to the dealership to find out what had happened, as we didn’t want it getting any worse, my wife and I watched their master tech remove the third brake light from the rear of our grand cali, then I interrupted him with the question what does the third brake light look like, and on looking at it they hadn’t done the recall, it looks as if it was the first time it had been removed from our cali and there was no butyl tape overlaid onto the rubber seal, so basically we had been told the recall had been done, but in fact it had not, so you can imagine our shock and disappointment of being told it had been done, so I showed the master tech the sacha vid and he followed the steps, but didn’t remove the rubber seal,and said if he removed the rubber seal it’s not what vw states they do in the recall, recall states to apply butyl over the rubber seal, to which I couldn’t argue , but he did put butyl the same as in sacha vid all be it didn’t remove the 3 year old seal, but he did realy clean it all up and it looked as new, so we need to keep a check on it from time to time from now on going forward, by lifting the front edge of the roof trim above the rear locker as sacha does in his pics, but what do you think of being told the recall had been done when it wasn’t, what’s the game with these people doing this deception? Makes you wonder are they doing the recalls vw send out, and what should an owner do if this happens to them, I don’t know what to do or where to turn regarding this.
Hej James,
that’s sad to hear. Have you checked if the recall has been entered into your vehicle DSP? They need to renew the sealing as part of the recall.
Best regards
Martin